 Appointment Lookup
 213-596-2538
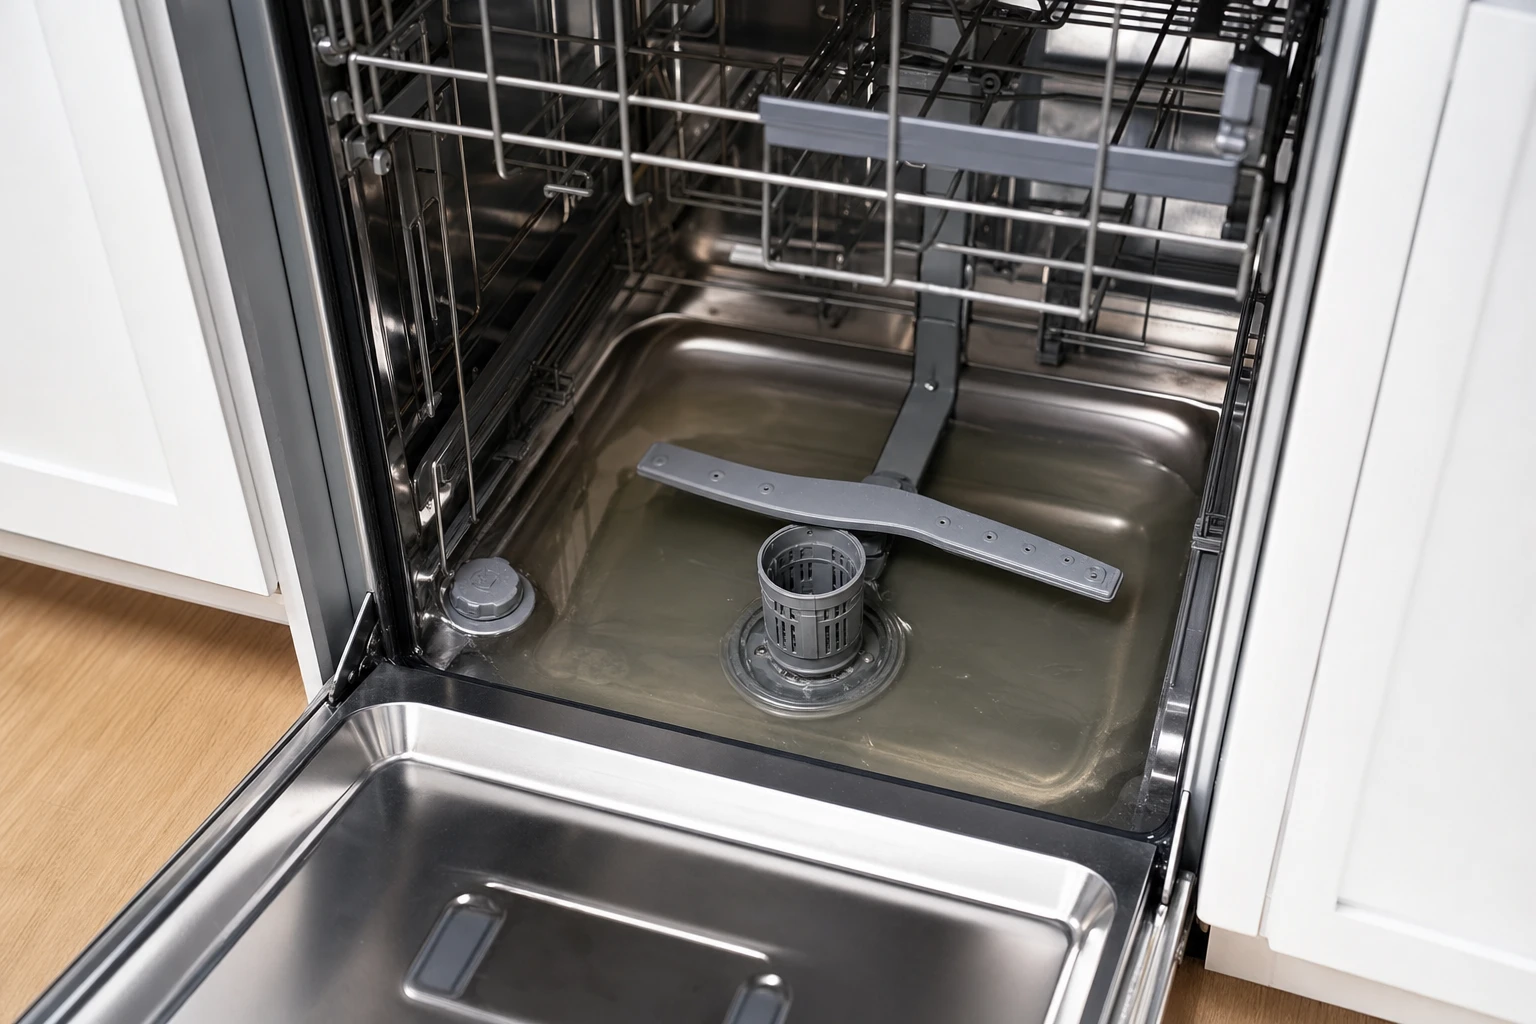
Learn how to drain a dishwasher with standing water in 6 easy steps. Fix clogs, clean the filter, and know when to call a pro for expert repair.
Can You Replace a Dishwasher Yourself?
What Tools and Supplies Do You Need to Replace a Dishwasher?
How Do You Remove an Old Dishwasher Safely?
How Do You Install a New Dishwasher Step by Step?
How Do You Test a New Dishwasher After Installation?
How Much Does It Cost to Replace a Dishwasher?
When Should You Call a Professional Instead?
Frequently Asked Questions
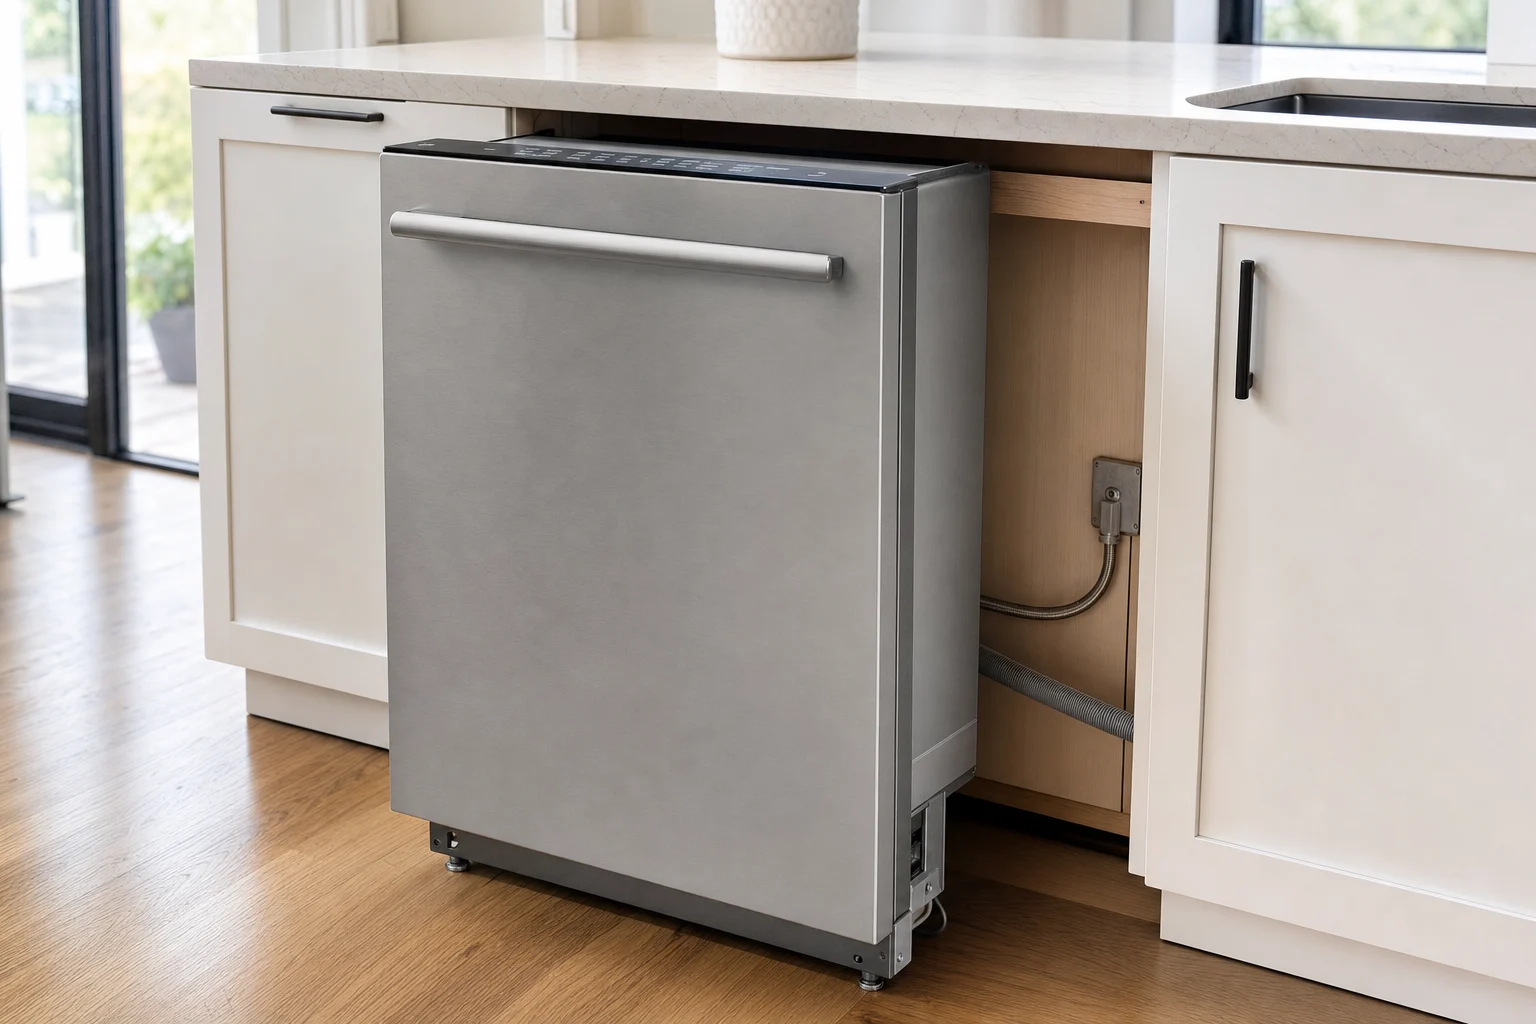
To replace a dishwasher, shut off the power and water, disconnect the drain hose and supply line, slide out the old unit, then reverse the process to install the new one—leveling, securing, and leak-testing before running a cycle. Most homeowners can do this in a Saturday afternoon if the existing hookups are up to code. This guide walks through every step in the right order, calls out the mistakes that cause leaks, and tells you when it's smarter to hand the job to a manufacturer-trained technician instead of muscling through it yourself.
KEY TAKEAWAYS
A like-for-like dishwasher swap is one of the more approachable major-appliance projects, but it's not trivial. You're working with 120V electrical, a pressurized hot water line, and a drain connection—any one of which can cause real damage if you rush.
If you can use a wrench, a screwdriver, and a level, and you're comfortable working on your back in a tight space, you can handle this. Plan on 1 to 3 hours for a straightforward swap. First-timers should block out a full afternoon.
Book a pro if any of the following are true: the old dishwasher is hardwired (no plug), you don't have a dedicated shut-off valve on the hot water line, the new unit is a different size than the old opening, or your electrical panel doesn't have a labeled dishwasher breaker. Gas countertops overhead, tile flooring installed after the original dishwasher, or a garbage disposal that's never been used with a dishwasher are all reasons to call in help.
Most jurisdictions don't require a permit for a like-for-like dishwasher swap, but they do require the connection to meet current code—including a dedicated 15- or 20-amp circuit, an accessible shut-off valve, and an air gap or high-loop on the drain line. Check your local building department before you start if you're unsure.
Gather everything before you pull the old unit. Nothing kills momentum like a trip to the hardware store with a disconnected water line dripping onto your subfloor.
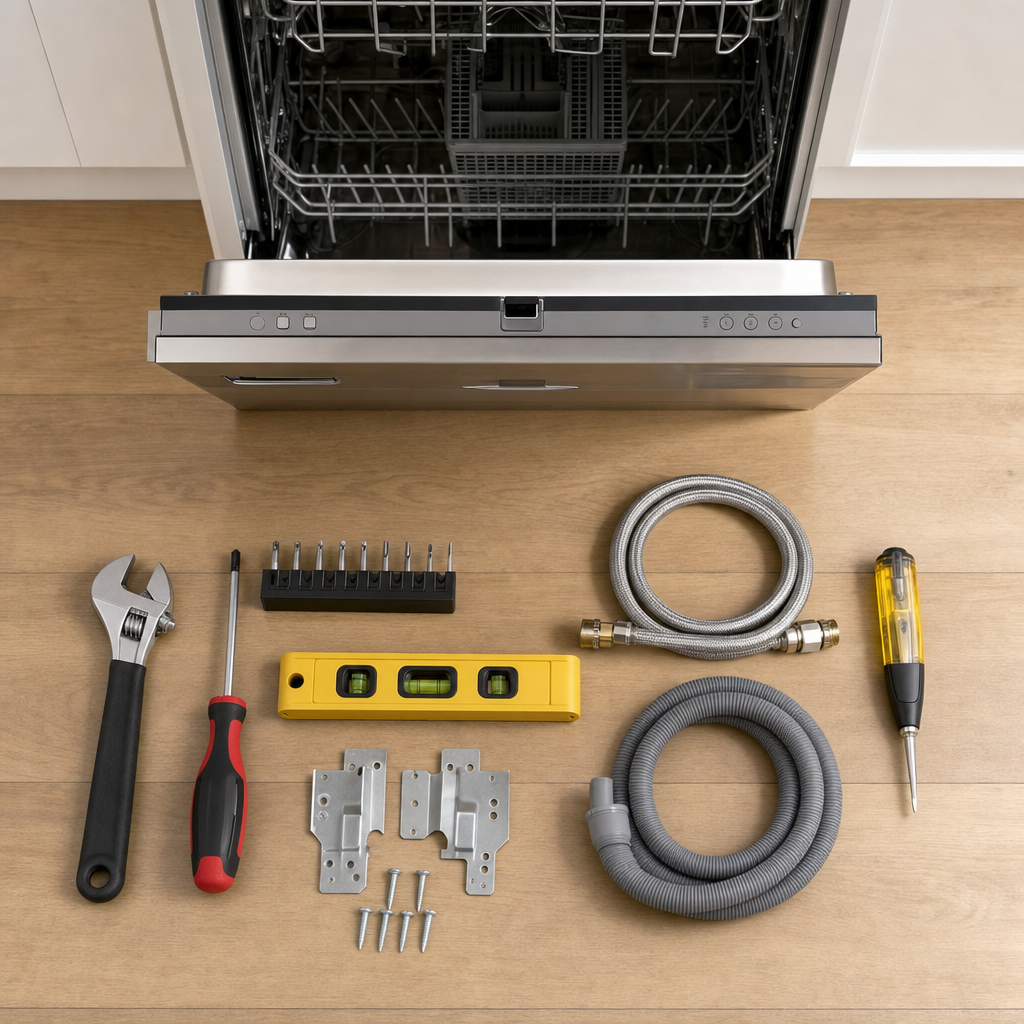
Most new dishwashers ship without a water line or power cord. Buy an installation kit that includes:
Wear safety glasses when you're on your back under the unit—flakes of old sealant and rust love to fall into your eyes. Knee pads help. Lay down a moving blanket or piece of cardboard to protect the floor when you slide the new dishwasher in.
Order matters. Kill the power first, then the water, then the drain, then the mounts.
Go to your electrical panel and flip the breaker labeled for the dishwasher (or kitchen small appliances if it's not labeled specifically). Come back and confirm the unit is dead by pressing a cycle button—no lights, no beep. If you can access the junction box under the toe kick, use a voltage tester on the wires before touching them.
Under the sink, close the hot water shut-off valve feeding the dishwasher. Turn it clockwise until it stops. Open the dishwasher's supply line fitting with an adjustable wrench—expect a small amount of residual water, so keep a towel underneath.
The drain hose runs from the dishwasher to either an air gap on the countertop or directly to the garbage disposal's dishwasher inlet. Loosen the hose clamp with a screwdriver and pull the hose free. Water will drain out—have your towel ready.
Open the dishwasher door and look for the two mounting screws at the top, secured to the underside of the countertop (or side brackets against the adjacent cabinets on stone countertops). Remove them. Close the door. Adjust the leveling legs down so the unit clears the flooring, then gently slide it forward. Feed the water line and drain hose out through the cabinet cutout as you go.
⚠️ Warning: If your floor was installed after the original dishwasher, the unit may be trapped under the countertop lip. Do not force it—you'll damage the flooring. Lower the front legs as far as they'll go and rock the unit forward slowly.
Work in reverse order of removal: connections first while the unit is out and accessible, then slide it in and secure it.
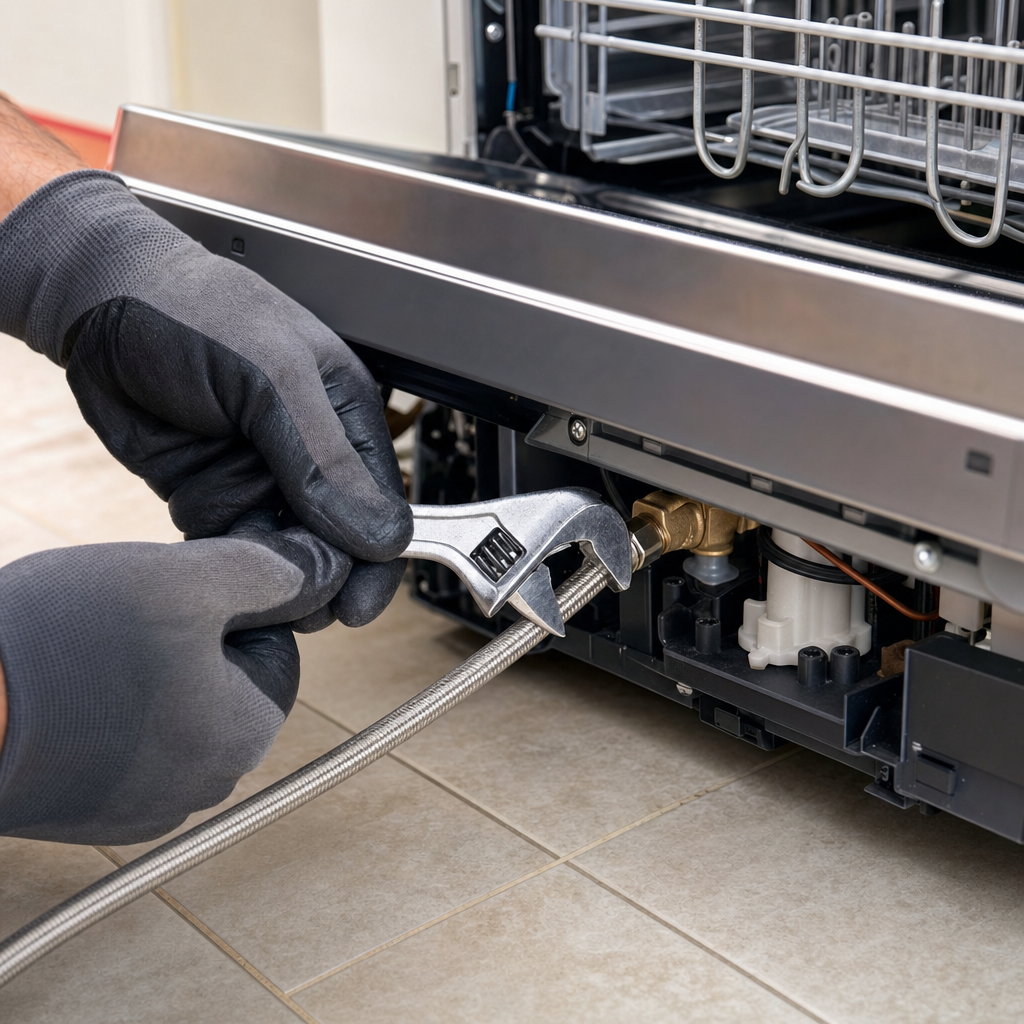
Tip the new dishwasher onto its back on a moving blanket. Wrap the threads of the water inlet valve with Teflon tape (three wraps clockwise). Thread the 90-degree elbow fitting from your installation kit into the inlet, then attach the braided supply line hand-tight plus a quarter turn with a wrench—don't overtighten or you'll crack the brass fitting.
Attach the drain hose to the dishwasher's drain pump outlet with the included clamp.
Remove the junction box cover at the front-bottom of the dishwasher. If you're using a power cord, connect black to black, white to white, and green (ground) to the green screw using wire nuts. Secure the cord with the strain relief. If you're hardwiring, follow the same color-matching and use the strain relief for the incoming cable. Replace the cover.
Stand the dishwasher up. Feed the water line, drain hose, and power cord back through the cabinet opening as you slide the unit in. Go slow—it's easy to pinch the water line under a leveling foot.
Once it's roughly in place, set a level on the door frame and on the inside floor of the tub. Adjust the four leveling feet (usually with a wrench or Phillips screwdriver from the front) until the unit is level side-to-side and tipped very slightly backward, which helps water drain toward the pump.
Open the door. Fasten the top mounting brackets to the underside of the countertop with the included short screws. Do not use long screws—you'll punch through a stone countertop or split a wood one. If your counter is granite, quartz, or another stone, use the side-mount brackets against the adjacent cabinets instead.
Before you reconnect the drain hose to the disposal or air gap, knock out the drain plug on a new garbage disposal's dishwasher inlet with a hammer and screwdriver, then fish the plug out. Skipping this step is the #1 cause of "my new dishwasher won't drain." Route the drain hose in a high loop—up under the countertop and secured there before dropping back down to the disposal—to prevent dishwasher leaks and back-siphoning.
Open the hot water shut-off valve fully. Flip the breaker back on. The dishwasher should light up.
Start a rinse-only or short cycle. During the first two minutes, get under the sink with a flashlight and check the water supply connection. Then open the toe kick and look for drips at the inlet valve and drain hose. A single drop is a fail—retighten and retest.
Let the cycle complete. Open the door and confirm the tub is empty—no standing water at the bottom. Close the door and make sure the latch engages cleanly without lifting the countertop. A noisy new dishwasher on its first cycle often means the unit isn't level or the drain hose is kinked.
| Path | Typical cost range | What's included |
|---|---|---|
| DIY parts only | $30–$80 | Installation kit, supply line, power cord |
| New dishwasher (mid-range) | $500–$1,200 | Unit only |
| Professional installation | $150–$400 | Labor, haul-away, connection |
| Full pro replacement | $700–$1,800 | Unit plus install |
If your dishwasher is under 8 years old and the repair costs less than half of a new comparable unit, repair is usually the smarter call. Common fixable failures include pump motors, door latches, and control boards—see our guide on replacing a dishwasher pump for one of the most common fixes. Beyond 10 years, replacement usually wins on efficiency and reliability. ENERGY STAR-rated dishwashers use noticeably less water and electricity than models from a decade ago.
An appliance protection coverage plan can also blunt the cost of future repairs across your kitchen appliances.
Before you shell out for a new unit, check the age. A 4-year-old dishwasher that won't drain probably has a clogged pump or a bad drain solenoid—both routine repairs. A door that won't latch, a control panel that won't respond, or a machine that leaks from a single spot are almost always repairable.
Sears Home Services dispatches manufacturer-trained technicians who diagnose the problem, then provide an exact quote—parts and labor—that doesn't change once given. The diagnostic fee is $90 to $150 depending on the appliance and is waived if you proceed with the repair. All repairs come with a service guarantee. If you'd rather not do the install yourself, our dishwasher repair and installation service handles removal, hookup, and haul-away in a single visit.
With extensive experience, our technicians are skilled in repairing dishwashers of all makes and models, ensuring sparkling clean dishes with every cycle.
Loading scheduler options...
Learn how to drain a dishwasher with standing water in 6 easy steps. Fix clogs, clean the filter, and know when to call a pro for expert repair.
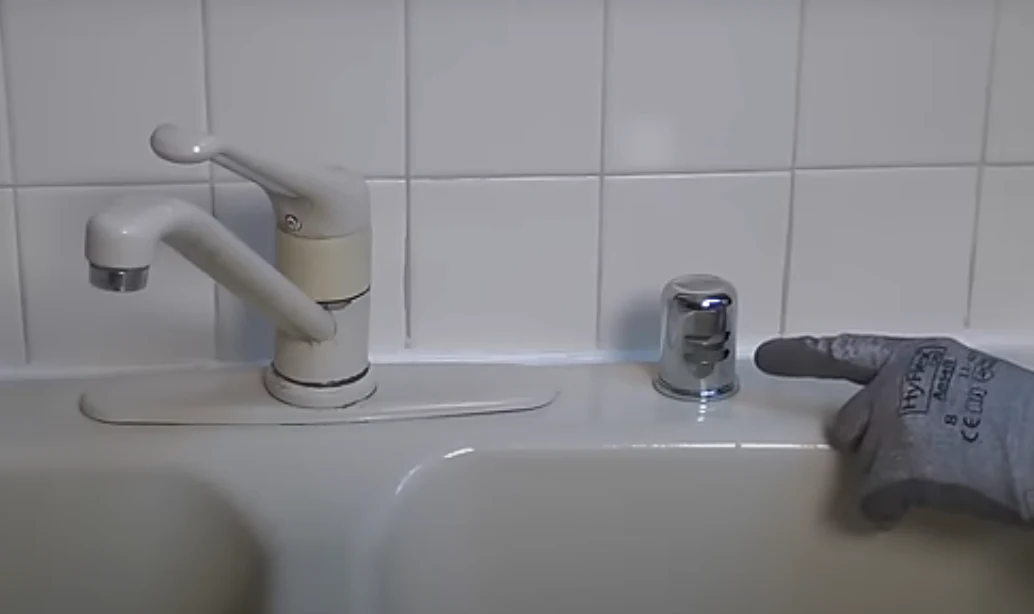
Learn how an air gap works in the drain system of a dishwasher.

Learn how a recirculation pump works in a dishwasher and how to troubleshoot pump problems.
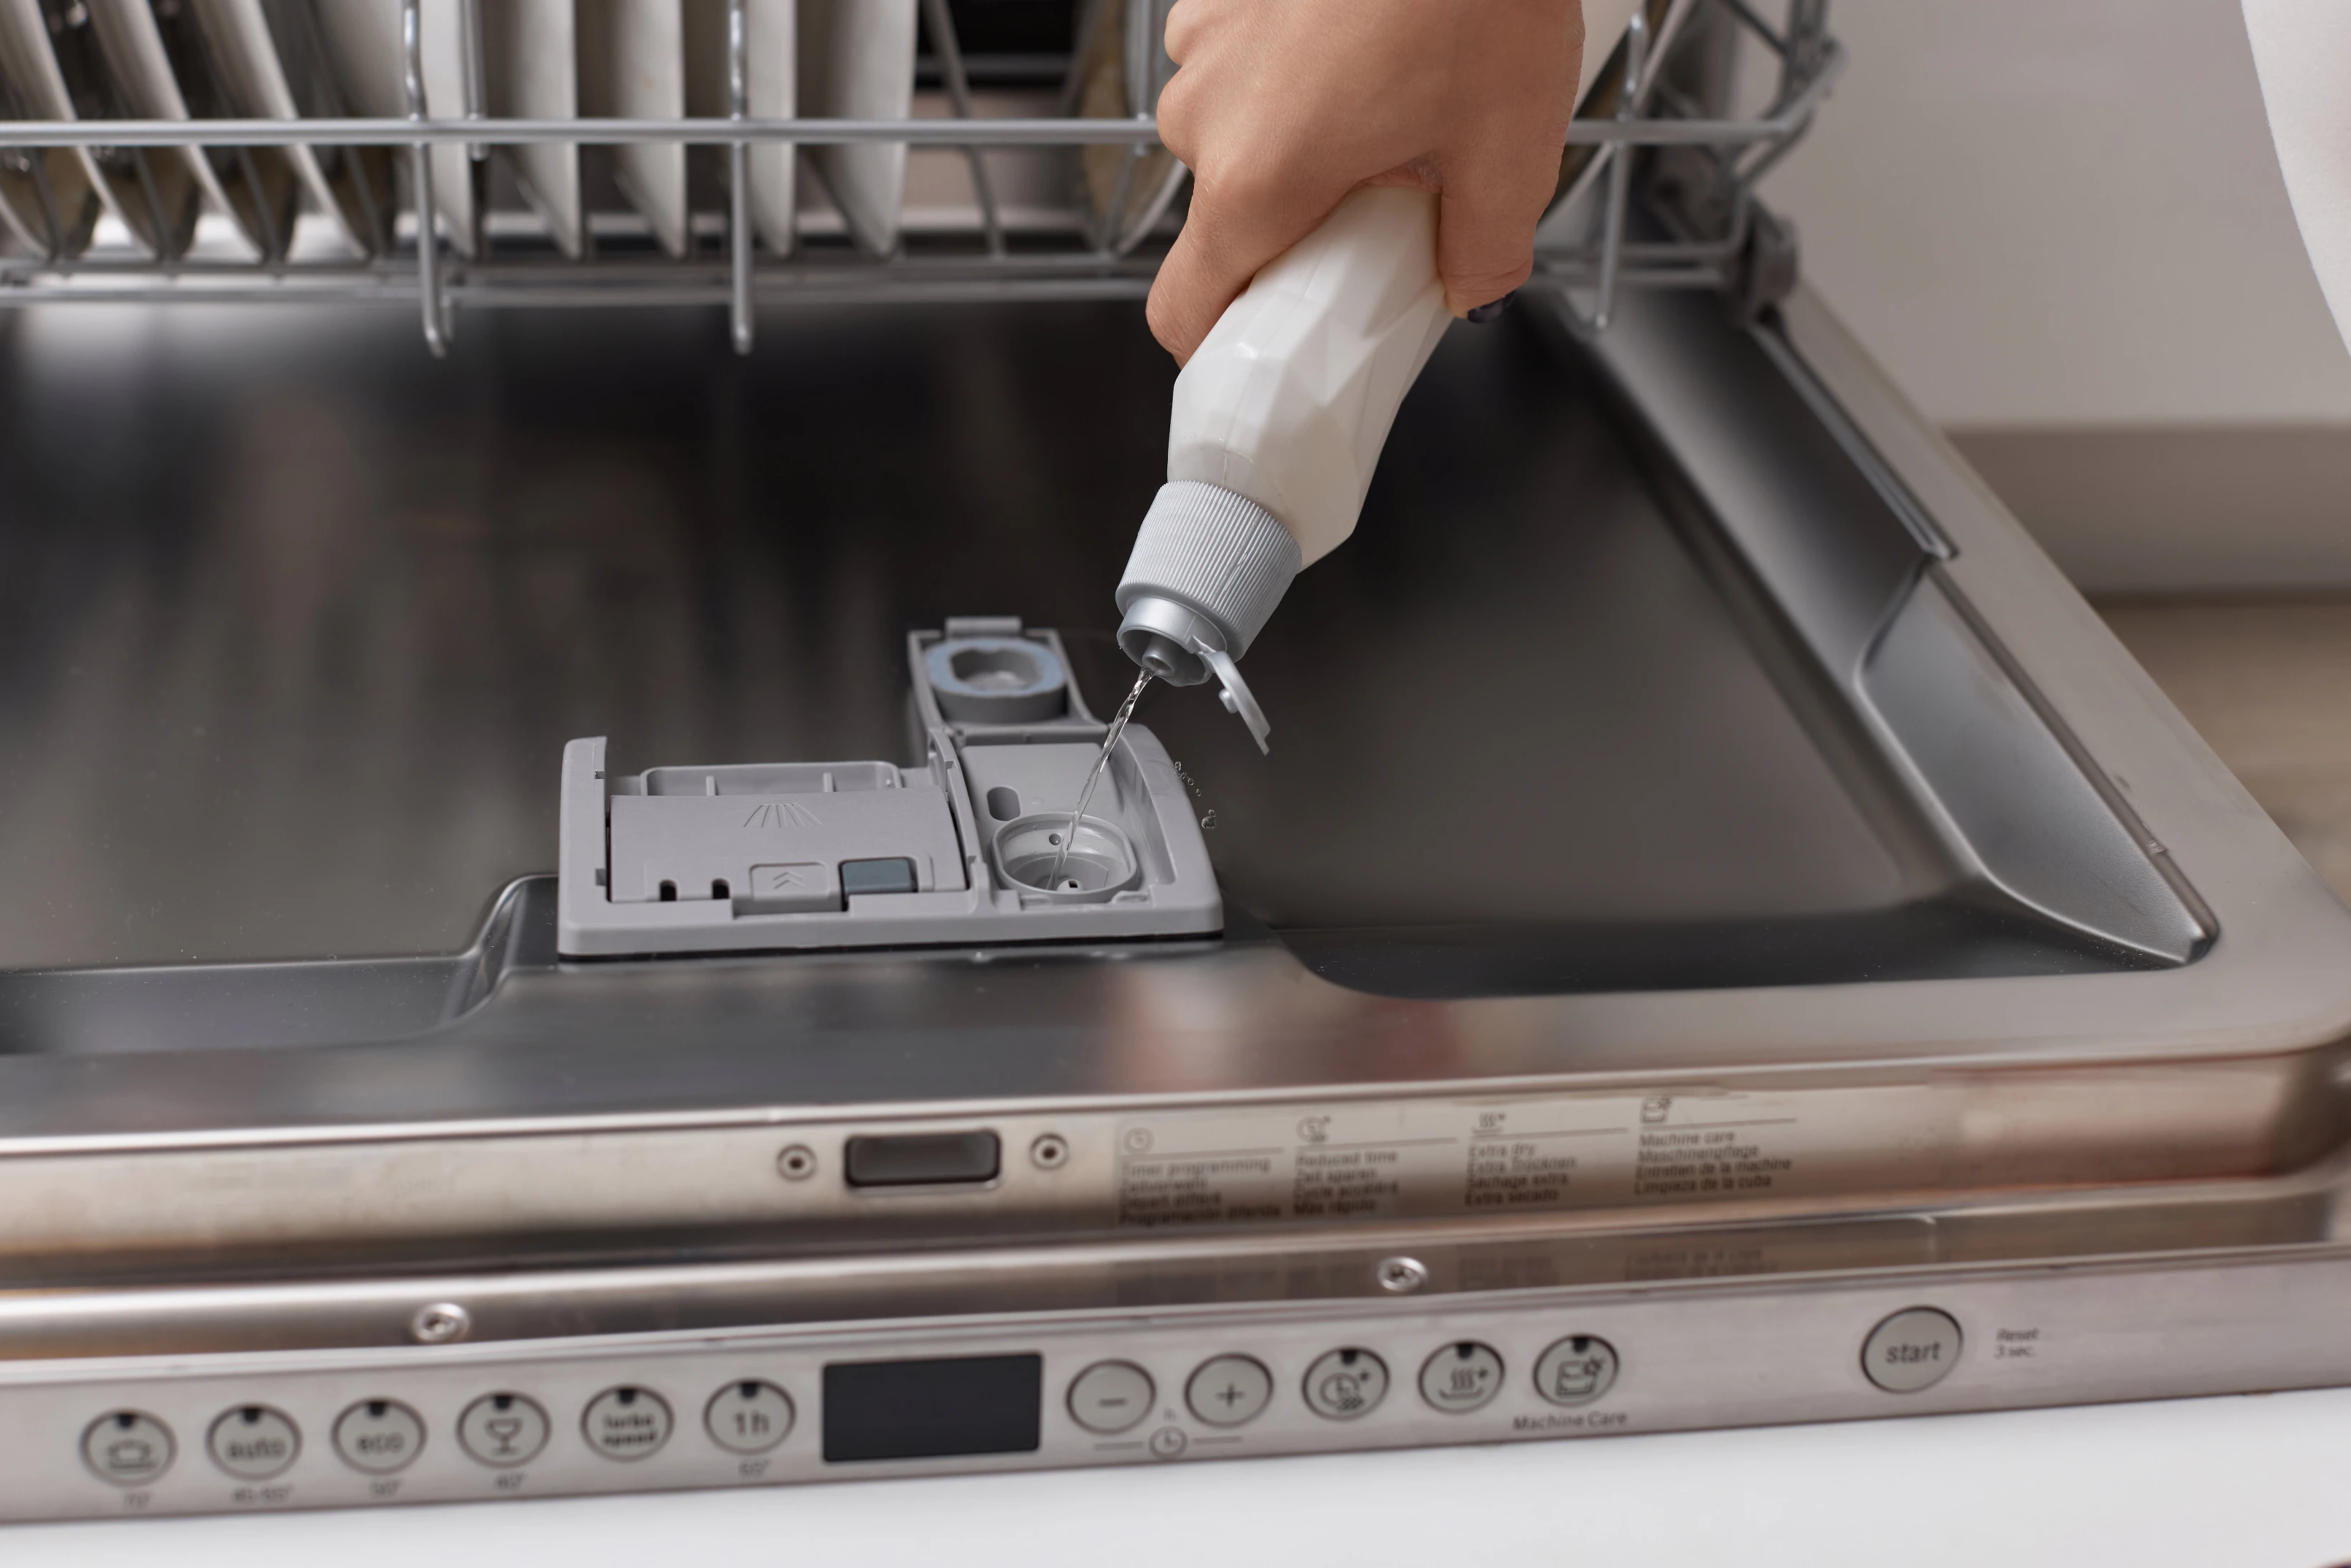
Learn how a rinse aid dispenser works in a dishwasher and how to troubleshoot problems.
A dishwasher basket is a removable container designed to securely hold small items like cutlery and utensils during the wash cycle, ensuring efficient cleaning without loss or damage.
A dishwasher end panel is a finishing piece installed on the exposed side of a dishwasher, primarily when it is at the end of kitchen cabinetry, to ensure a seamless and aesthetically pleasing look in the kitchen.
A dishwasher diverter motor controls the direction of water flow to different spray arms within the dishwasher, ensuring optimal water distribution during each wash cycle for thorough cleaning.
A dishwasher drawer is a compact, space-saving kitchen appliance designed to clean dishes efficiently, resembling a standard kitchen drawer that slides out for easy loading and unloading.
The most common reasons your Frigidaire dishwasher won't start a cycle are a defective electronic control board, damaged power supply board or a failed door switch.
The most common reasons your Amana dishwasher won't drain are a failed drain pump, faulty pump and motor assembly or a cracked drain hose.
The most common reasons your Bosch dishwasher has no heat are a defective electronic control board, clogged water valve or a broken detergent dispenser.
The most common reasons your Electrolux dishwasher is not heating are a defective electronic control board, faulty pump and motor assembly or a damaged user interface control.
The most common reasons your Kenmore dishwasher is not washing are a faulty pump and motor assembly, defective electronic control board or a clogged spray arm.
The most common reasons your Kenmore Elite dishwasher is not washing are a faulty pump and motor assembly, defective electronic control board or a clogged spray arm.