 Appointment Lookup
 213-596-2538
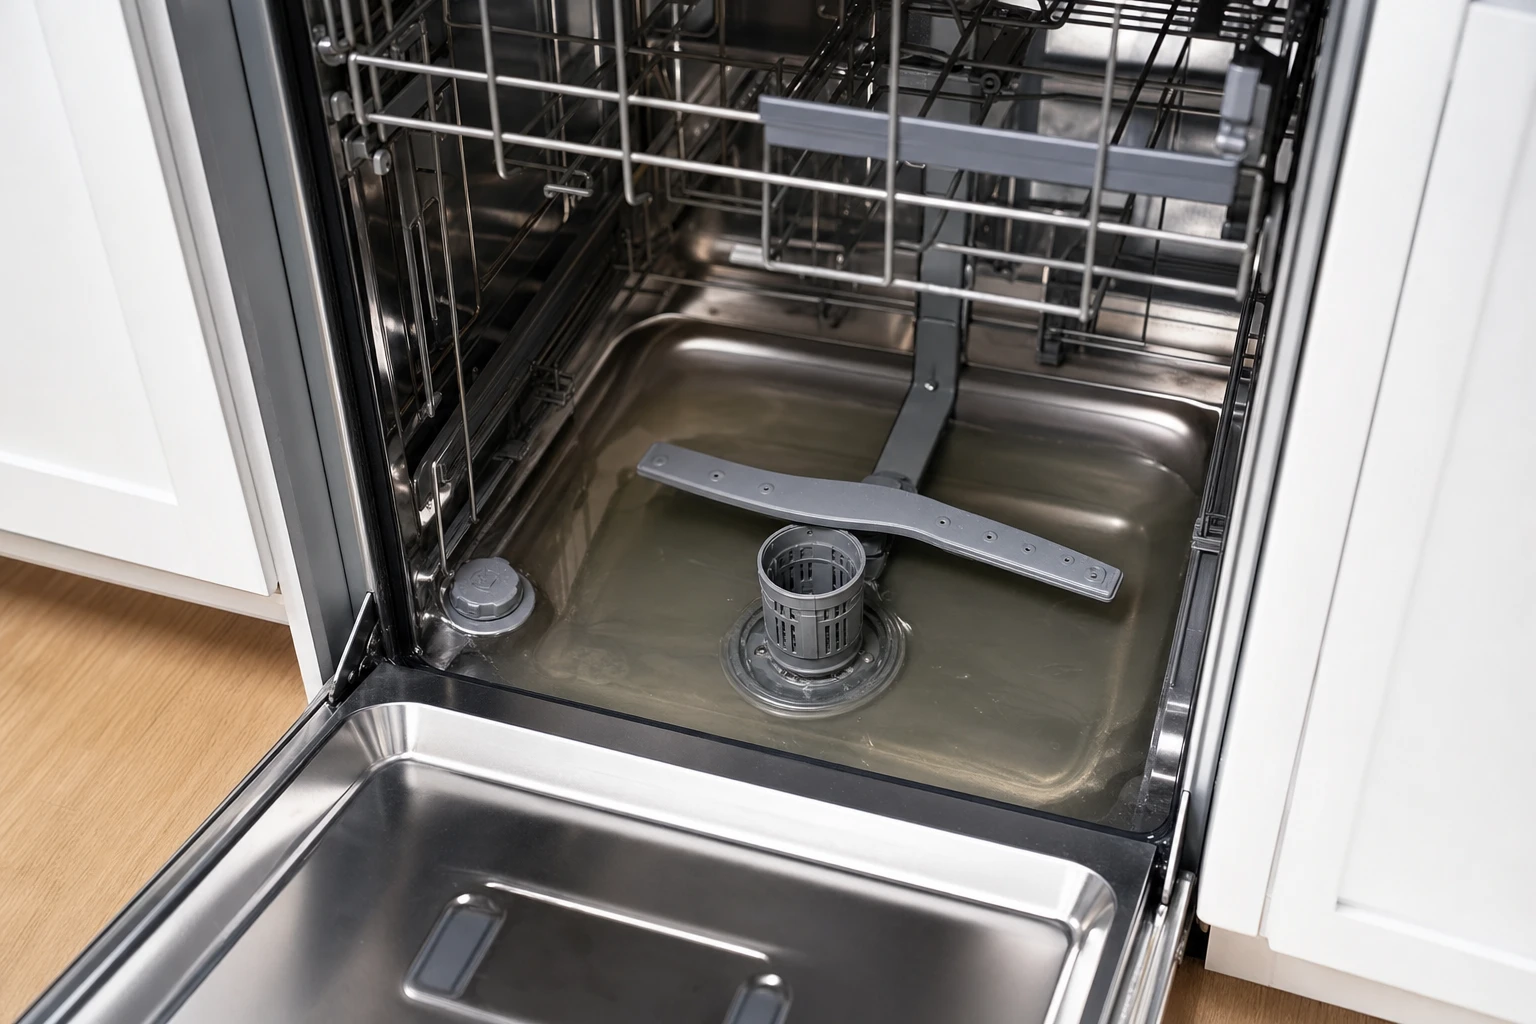
Learn how to drain a dishwasher with standing water in 6 easy steps. Fix clogs, clean the filter, and know when to call a pro for expert repair.
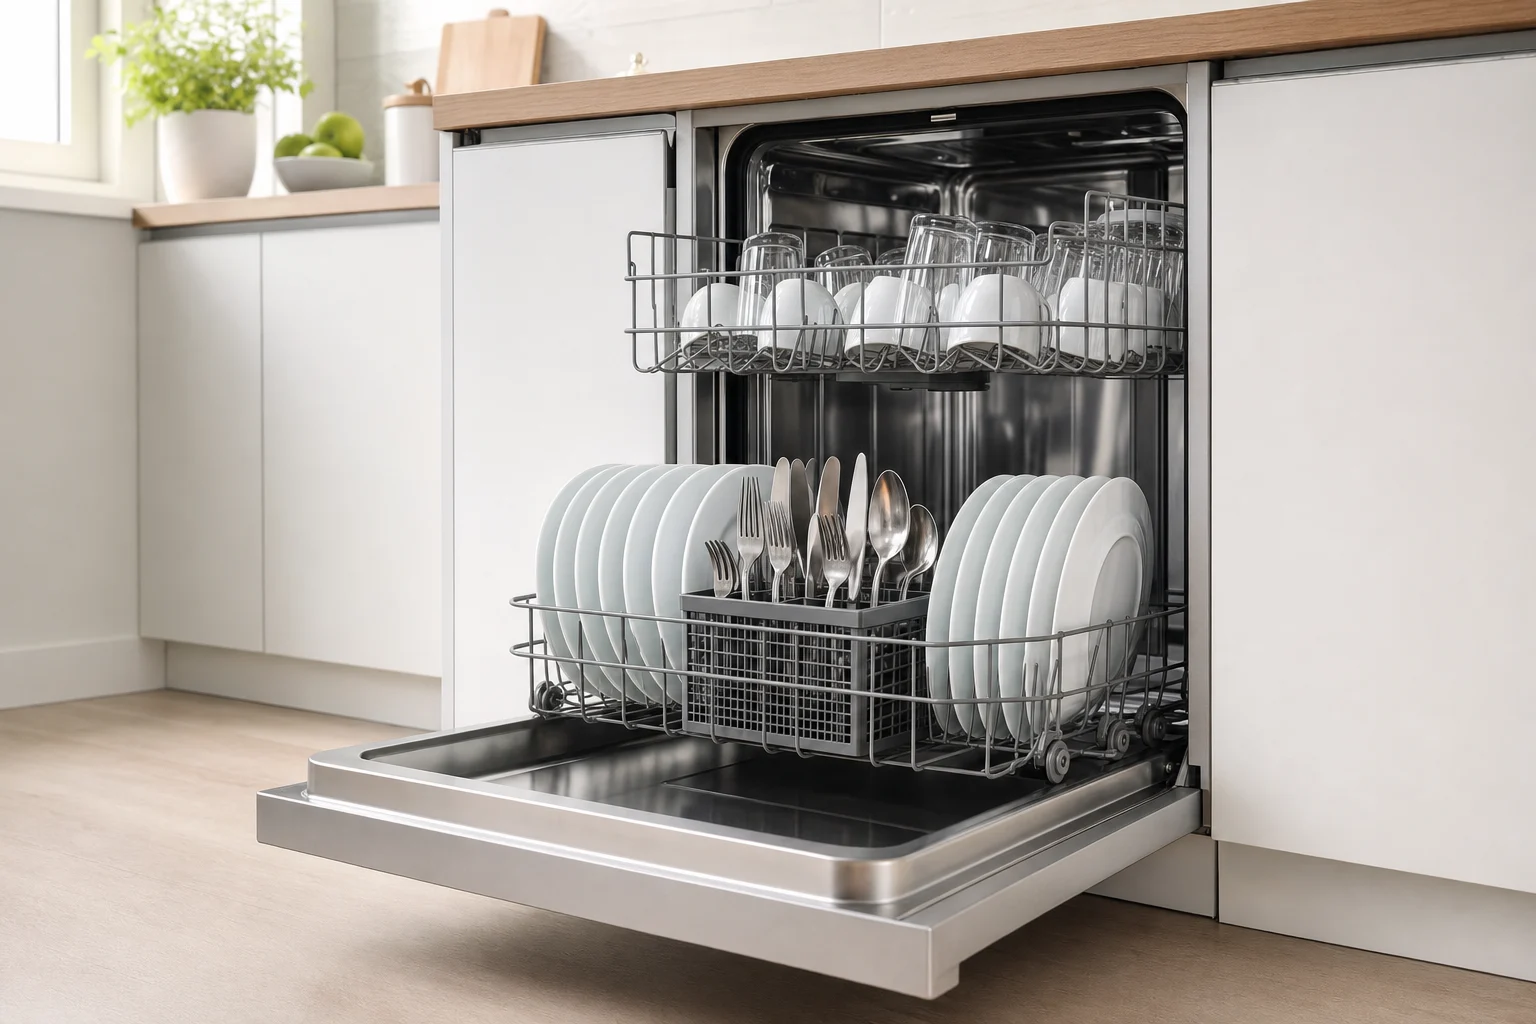
A dishwasher turbidity sensor is a small optical device that measures how cloudy or dirty the wash water is by shining a light beam through it and reading how much passes through. The dishwasher uses that reading to automatically adjust cycle length, water usage, and the number of rinses needed to get your dishes clean. If your dishes are coming out gritty, your cycles are running unusually long, or your auto/sensor wash setting seems confused, the turbidity sensor is often the culprit. Here's how it works, how it fails, and what to do about it.
KEY TAKEAWAYS
A turbidity sensor is a tiny optical instrument that measures the cloudiness of the wash water during a cycle. Manufacturers add these sensors so the dishwasher can decide — on its own — how dirty the load actually is, then dial the wash program up or down to match. That's the whole point of "Auto" or "Sensor Wash" cycles on modern machines.
On most dishwashers, the turbidity sensor sits in the sump — the plastic well at the bottom of the tub where water collects before being pumped back through the spray arms. It's usually integrated into the sump housing itself or mounted on the drain pump assembly. You typically won't see it just by opening the door; accessing it means pulling the lower rack, filter, and often the sump cover.
Before turbidity sensors, dishwashers ran the same fixed cycle whether you loaded lightly rinsed plates or crusted lasagna pans. That wasted water, energy, and time. A turbidity sensor lets the machine adapt in real time — shorter cycles and less water for light loads, longer washes and extra rinses for heavy soil. It's a core part of how modern dishwashers actually work and how they earn ENERGY STAR ratings from energystar.gov.
Mostly, yes. "Turbidity sensor" describes the specific optical mechanism. "Soil sensor" is the marketing term some brands use, and it can be a slightly broader label that bundles in temperature or conductivity readings alongside turbidity. Functionally, they do the same job: tell the control board how dirty the water is.
The sensor works on a simple principle — clean water lets light through, and dirty water blocks it. Here's the sequence during a typical Auto cycle:
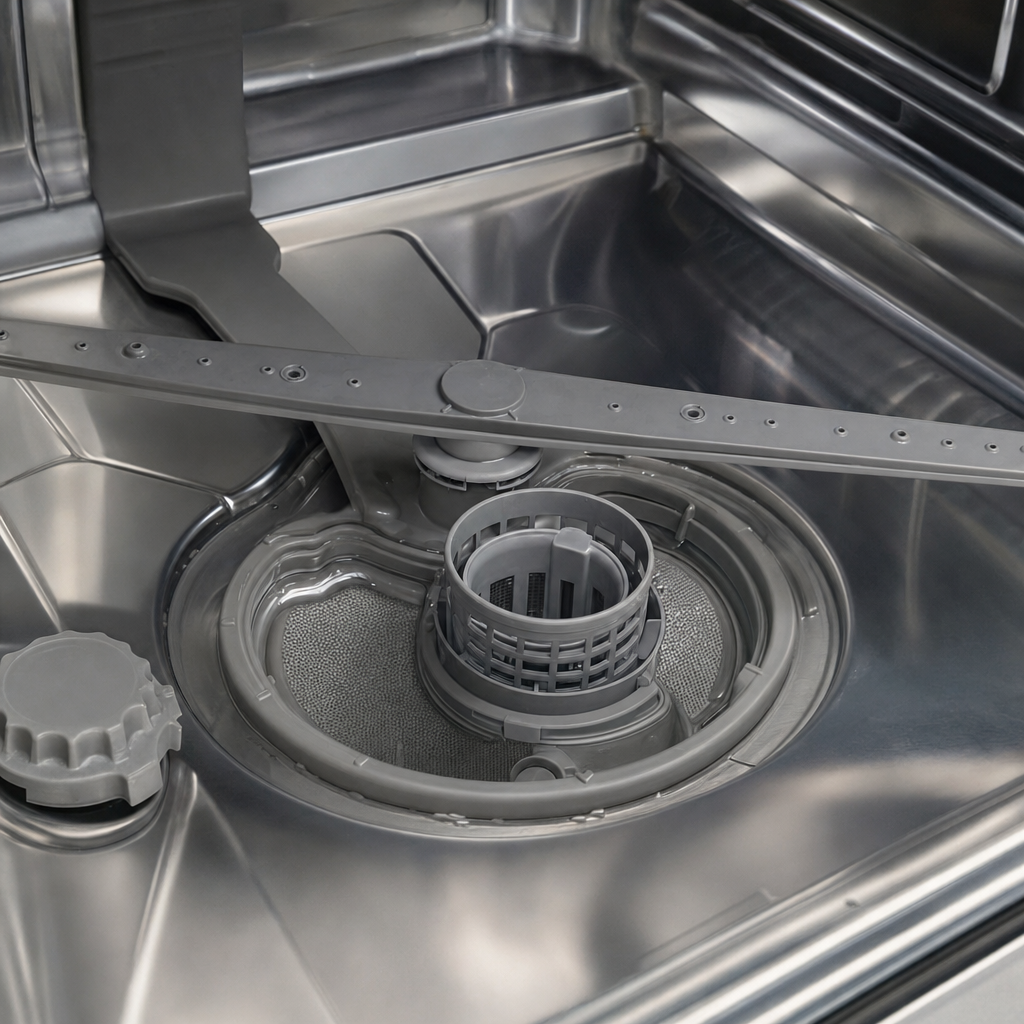
Inside the sensor housing, an LED shines a beam of light across a small gap in the water flow. On the opposite side, a photodiode measures how much of that light makes it through. Clean water transmits most of the light. Dirty, particle-filled water scatters and absorbs it, so the photodiode reads a weaker signal. The sensor translates that signal strength into a turbidity value the control board can act on. If you want a deeper look at how appliance sensors report data to a control board, our overview of how a pressure sensor works covers the same basic feedback-loop concept.
Once the board has a turbidity reading, it maps that value to a preset wash profile. A lightly soiled load might trigger a 90-minute cycle with one main wash and one rinse. A heavily soiled load can push the same machine past two hours with extended wash times, hotter water, and two or three rinses. This is why the same "Auto" cycle can vary widely in runtime from load to load — the machine isn't broken, it's responding to what it senses.
During rinses, the sensor checks whether detergent and food residue are being fully flushed out. If the rinse water still reads cloudy, the machine adds another rinse before moving to the dry phase. This is why a failing sensor often shows up as excessive water use — the machine thinks it's never getting the dishes clean.
A failing turbidity sensor rarely triggers a dramatic breakdown. Instead, you'll notice subtler changes in how the dishwasher behaves.
If the sensor reads dirty water as clean, the machine cuts the cycle short and skips rinses. You'll pull out plates with dried food specks, cloudy glassware, or a gritty film — even though the machine finished the cycle normally.
Auto cycles that used to finish in 90 minutes now run three hours, or vice versa. When the sensor can't get a reliable baseline reading, the control board defaults to extreme cycle lengths.
Many brands display a specific error code when the sensor circuit fails or reports out-of-range values. Whirlpool, KitchenAid, Bosch, LG, Samsung, and GE all have codes tied to turbidity or soil sensor faults. Your owner's manual or the manufacturer's service documentation will list the exact code for your model.
If you notice your dishwasher filling more times than it used to, or the water bill has ticked up without any other explanation, a sensor stuck reading "dirty" may be forcing extra rinses every cycle.
This is the #1 cause. Calcium and magnesium in hard water leave a chalky film on the sensor's optical window. Once that film gets thick enough, the LED beam can't get a clean reading. The sensor isn't broken — it just can't see.
Heavy grease, starches, and food particles can bake onto the sensor lens over time, especially if the filter isn't cleaned regularly. This is common in households that skip the pre-rinse and run mostly "quick" cycles that don't reach high temperatures.
Less common but more serious: a corroded wire connector, a chafed harness in the sump area, or a failing control board can cause the sensor to report bad data even when the lens is spotless. These issues need a technician with a multimeter and the model's service manual.
⚠️ Warning: Never probe dishwasher wiring or the control board with the machine plugged in. Water and 120V circuits are a serious shock hazard. Always disconnect power at the breaker before removing panels.
Before replacing anything, try this:
This often clears mineral film off the sensor lens without any disassembly. If your dishes come out clean and cycles return to normal timing, you're done.
If cycles are still erratic after cleaning, or if you're getting a sensor error code, the sensor itself likely needs replacement. That means disassembling the sump area, disconnecting wiring, and installing the correct part number for your model. Replacement parts are available through Sears PartsDirect, but installation on most modern dishwashers is not a beginner job.
Sensor symptoms overlap with other problems — a clogged spray arm, a weak circulation pump, a failing heating element, or a bad control board can all mimic sensor failure. Swapping the sensor when the real problem is the pump wastes money. A technician tests the sensor's actual output before recommending a replacement.
If you've cleaned the filter, run a cleaner cycle, and the dishwasher still isn't cleaning right — or you're seeing error codes, a leaking dishwasher, or unusual noise during the cycle — it's time for a professional diagnosis.
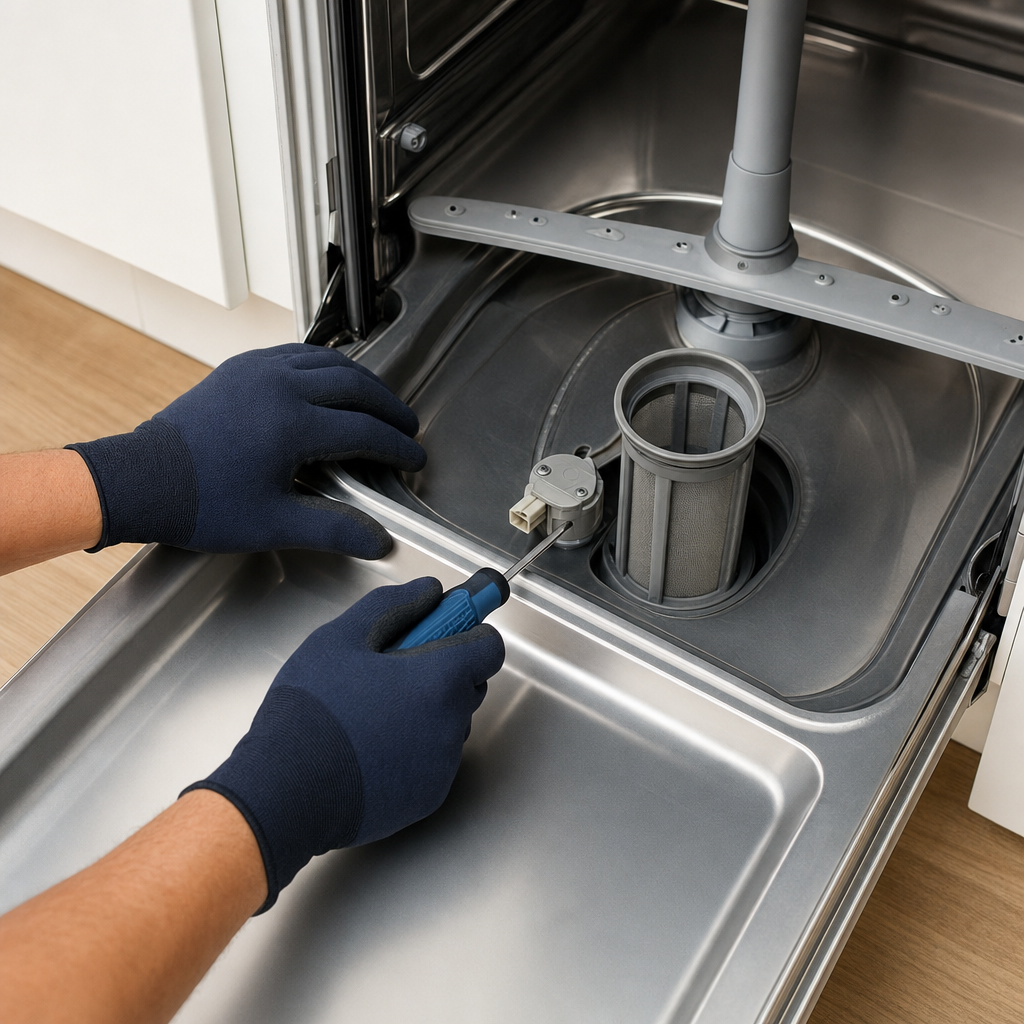
A Sears Home Services technician will run the dishwasher through a service test, check the sensor's output with a meter, inspect the wiring harness, and verify the control board is reading correctly. Diagnostic fees run $90 to $150 depending on the appliance, and the fee is waived if you proceed with the repair.
Once the diagnosis is complete, your technician provides an exact quote — parts and labor — that doesn't change once provided. You approve the cost before any work begins. If you decline, you pay only the diagnostic fee.
| Option | Typical cost range | Best for |
|---|---|---|
| DIY cleaner/vinegar cycle | $10-$25 | Hard water film, first-line fix |
| Filter and sump cleaning | Free (DIY) | Food debris buildup |
| Professional sensor replacement | $150-$400 typical | Persistent errors after cleaning |
| Control board replacement | $300-$600 typical | Sensor wiring or board fault |
Sears Home Services is the #1 appliance repair service in the country, with 1,500+ manufacturer-trained technicians with an average of 10+ years of experience. Schedule dishwasher repair service online or by phone — check for same-day availability in your area. All repairs come with a service guarantee, and Sears Protect members receive additional benefits and perks; see home warranty coverage for details.
With extensive experience, our technicians are skilled in repairing dishwashers of all makes and models, ensuring sparkling clean dishes with every cycle.
Loading scheduler options...
Learn how to drain a dishwasher with standing water in 6 easy steps. Fix clogs, clean the filter, and know when to call a pro for expert repair.
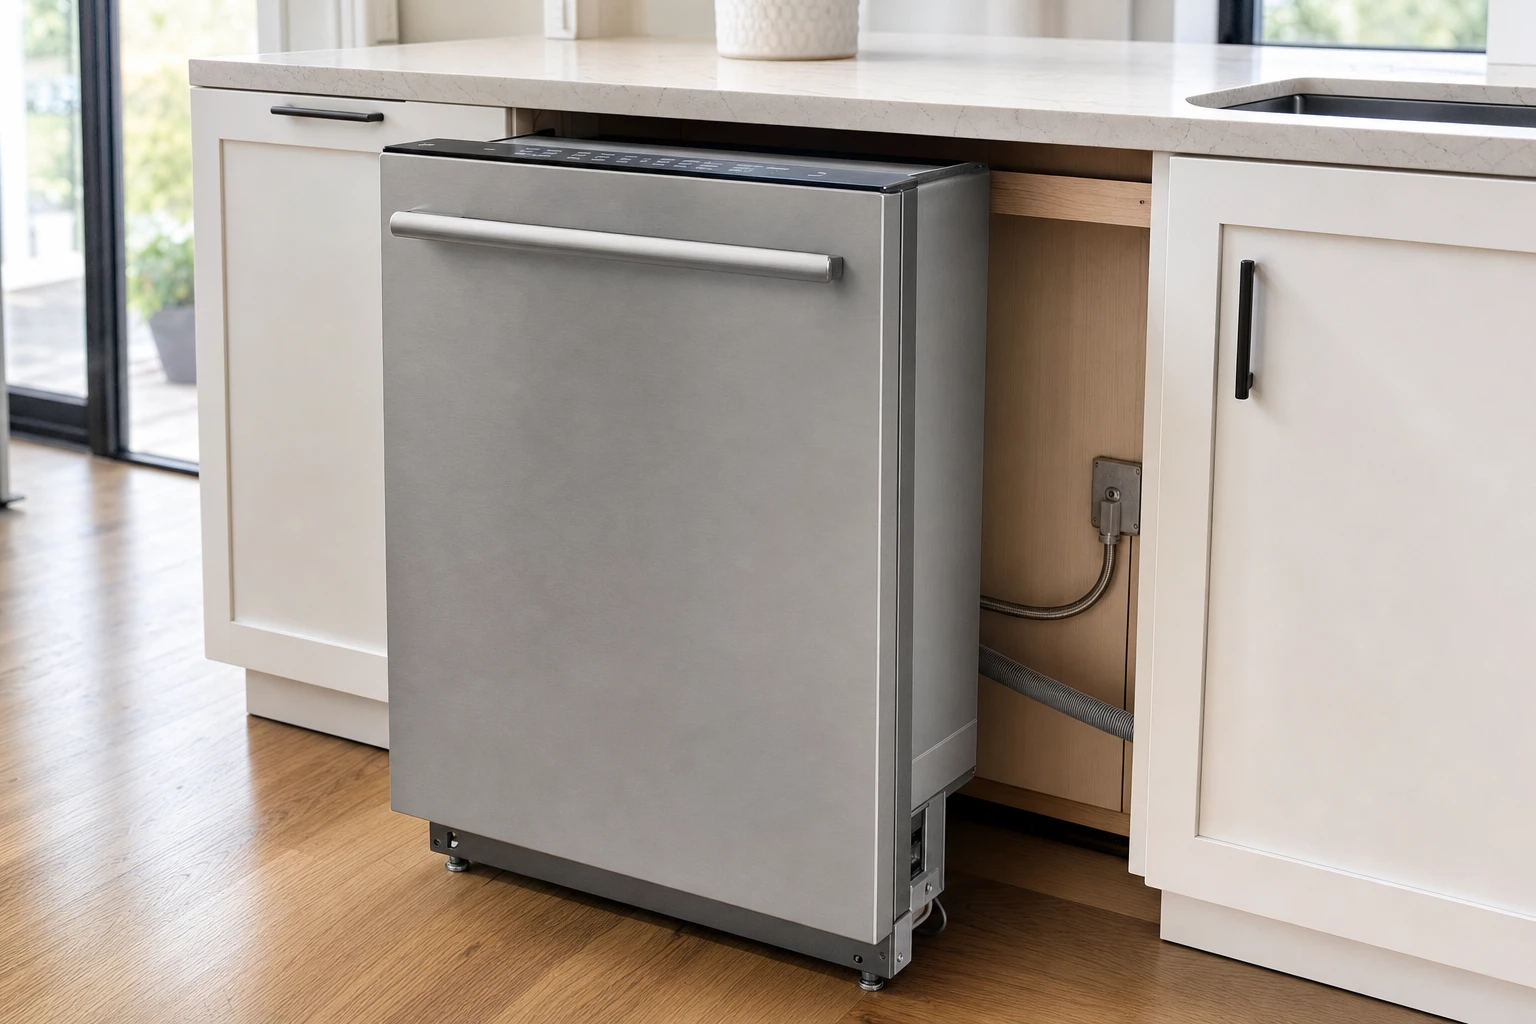
Learn how to replace a dishwasher safely in 2026. Step-by-step removal, hookup, and install tips—plus when to call a manufacturer-trained technician.

Find out why your dishwasher is stopping mid-cycle and how to fix common problems that cause this symptom.

Many common issues stem from simple dishwasher misuse. Get expert troubleshooting tips to fix the most frequent dishwasher problems.
A dishwasher basket is a removable container designed to securely hold small items like cutlery and utensils during the wash cycle, ensuring efficient cleaning without loss or damage.
A dishwasher end panel is a finishing piece installed on the exposed side of a dishwasher, primarily when it is at the end of kitchen cabinetry, to ensure a seamless and aesthetically pleasing look in the kitchen.
A dishwasher diverter motor controls the direction of water flow to different spray arms within the dishwasher, ensuring optimal water distribution during each wash cycle for thorough cleaning.
A dishwasher drawer is a compact, space-saving kitchen appliance designed to clean dishes efficiently, resembling a standard kitchen drawer that slides out for easy loading and unloading.
The most common reasons your Frigidaire dishwasher won't start a cycle are a defective electronic control board, damaged power supply board or a failed door switch.
The most common reasons your Amana dishwasher won't drain are a failed drain pump, faulty pump and motor assembly or a cracked drain hose.
The most common reasons your Bosch dishwasher has no heat are a defective electronic control board, clogged water valve or a broken detergent dispenser.
The most common reasons your Electrolux dishwasher is not heating are a defective electronic control board, faulty pump and motor assembly or a damaged user interface control.
The most common reasons your Kenmore dishwasher is not washing are a faulty pump and motor assembly, defective electronic control board or a clogged spray arm.
The most common reasons your Kenmore Elite dishwasher is not washing are a faulty pump and motor assembly, defective electronic control board or a clogged spray arm.