 Appointment Lookup
 213-596-2538

Discover the importance of regular treadmill maintenance and cleaning, and learn how timely treadmill repair keeps your workouts on track.

Like paying attention to your own health, your treadmill requires routine care to be your steadfast partner in fitness. Committing to its upkeep ensures your workouts are both effective and safe, steering you closer to your fitness goals. You can master the art of treadmill care, ensuring it stays in top form for years to come.
KEY TAKEAWAYS
Properly maintaining your treadmill is crucial for its longevity and performance. Regular upkeep not only prolongs the lifespan of your treadmill but also enhances your workout experience. This guide will walk you through essential maintenance steps, including cleaning, lubricating the belt, checking tension, and setting up a maintenance schedule. Follow our expert tips to keep your treadmill in top condition and avoid costly repairs.
Regular treadmill maintenance is vital for its smooth operation and durability. By addressing minor issues early, you can prevent major problems and save on repair costs. Consistent care also extends the lifespan of your treadmill, ensuring it remains in peak condition for years to come. Just like any machine, treadmills benefit from regular attention to keep them functioning efficiently.
Regular treadmill cleaning prevents the accumulation of dirt, sweat, and other debris, particularly on the console, belt, and handles. Left alone, this buildup could compromise your treadmill's functionality, leading to hefty repair costs.
Cleanliness is a cornerstone of your treadmill's performance. Dust and dirt on the belt and under the hood can create friction, disrupting the machine's smooth operation. This can put unnecessary strain on the motor and other components, leading to decreased performance and potential repairs. Regular cleaning ensures that your treadmill operates smoothly and efficiently, providing a consistent and effective workout experience.
Follow these expert tips to effectively clean your treadmill.
First, unplug and power off your treadmill. Use a soft, lint-free cloth or microfiber cloth to wipe down the console, handrails, and frame. Avoid abrasive materials and harsh chemicals that could damage components. Pay special attention to areas prone to sweat and dirt buildup.
Use a mild, non-abrasive cleaner or a mixture of mild dish soap and water. Avoid ammonia-based cleaners or solvents that could cause discoloration or damage. Always check the manufacturer's instructions for specific cleaning recommendations.
Keep the area around your treadmill clean by vacuuming or sweeping regularly. Use a soft brush attachment to remove dust from the treadmill's surface. Placing a treadmill mat or rug underneath can further minimize dust buildup.
Lubricating your treadmill belt is key to maintaining its performance. Use a silicone-based lubricant specifically designed for treadmills. Avoid petroleum-based or wax-based lubricants that could damage the belt and deck.
Follow these steps to lubricate your treadmill belt:
Regularly lubricating the belt ensures smooth operation and extends the treadmill's life. Always refer to your user manual for specific instructions.

Maintaining the correct tension and tracking of your treadmill belt is crucial for optimal performance.
Signs of incorrect tension include slipping, a loose or tight belt, and unusual noises. When tensioned correctly, you should be able to lift the edge of the walking belt 2-3 inches.
The belt should run perfectly parallel to the sides of the treadmill’s frame. Adjust the tracking as described below if the belt is moving off-center.
Here's how to adjust the tension and tracking:
Regular tension and tracking checks ensure a safe and efficient workout experience. Consult your user manual for additional guidelines on adjusting tension and tracking for your model.
Schedule treadmill repair if you need help adjusting the tension or tracking on your treadmill.
The treadmill walking belt will eventually wear out. When that happens, schedule treadmill repair service and we’ll send a Sears Home Services technician to your home to replace the belt.
A consistent maintenance schedule keeps your treadmill in optimal condition.
Key treadmill maintenance tasks include:
Following a routine maintenance schedule prevents costly treadmill repairs and maintains your treadmill's performance. Always consult your user manual for specific guidelines and follow safety instructions during maintenance.
Our technicians have the training and experience to handle any treadmill issue quickly, ensuring you and your equipment is up and running in no time.
Loading scheduler options...
Discover the importance of regular treadmill maintenance and cleaning, and learn how timely treadmill repair keeps your workouts on track.

Learn how to change a treadmill belt with our step-by-step guide. Get expert tips and advice from Sears Home Services.

Discover top load washer troubleshooting tips for common issues like water leaks, excessive vibrations, failure to fill with water, detergent residue, and startup problems.
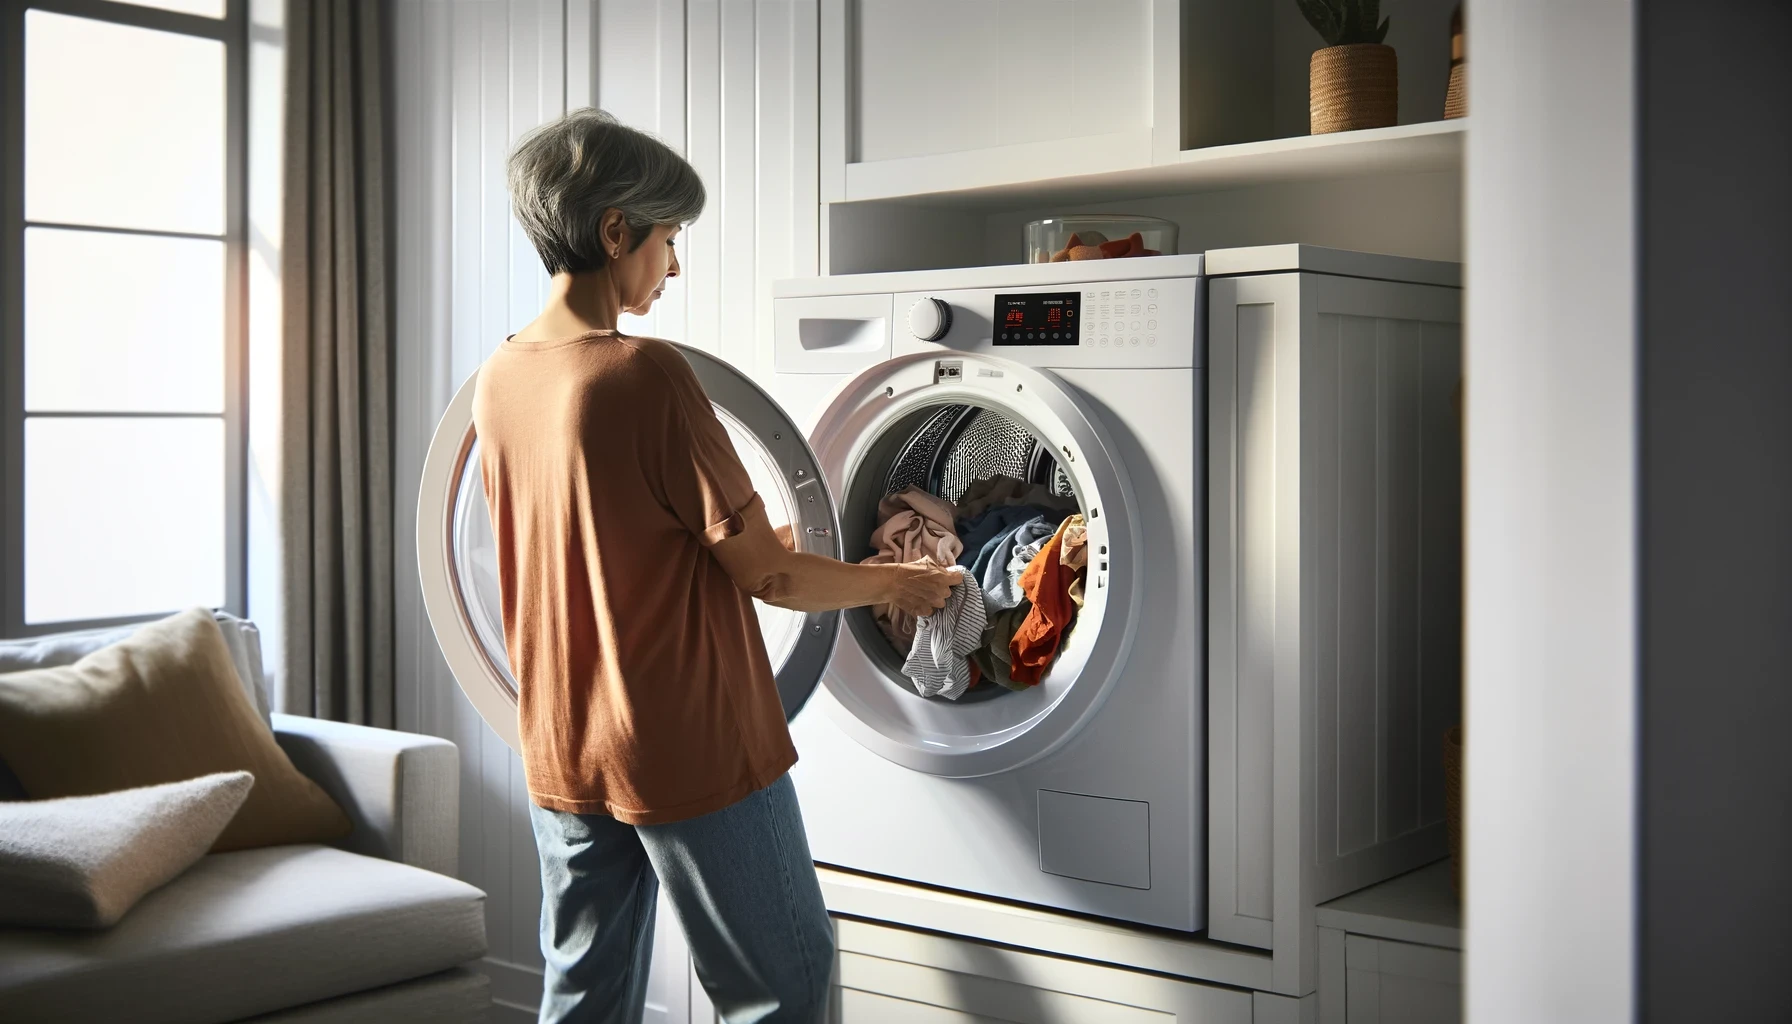
When your dryer won’t stay running during a cycle, it can throw a huge wrench in your laundry routine.
The drum is the core part of the washer that holds your laundry and enables the cleaning process through rotation, agitation, and rinsing.
The 608 Certification, mandated by the Environmental Protection Agency (EPA), is required for HVAC technicians to legally handle refrigerants. It ensures technicians understand refrigerant types, environmental impact, and proper handling techniques.
A compressor is a mechanical device that increases the pressure of a gas by reducing its volume, essential in various systems including refrigerators, air conditioners, and HVAC units for cooling and refrigeration processes.
A condenser is a component of HVAC and refrigeration systems, responsible for releasing absorbed heat from the refrigerant into the outside air or a water line, thus facilitating the cooling process.
When your Payne central air conditioner won’t turn on or isn’t cooling, check for power problems, a failed capacitor, or a clogged condensate drain. This guide covers quick, safe troubleshooting steps and explains when to call Sears Home Services for expert central AC repair.
When your ICP central air conditioner won’t turn on or isn’t cooling, check for power problems, a failed capacitor, or a clogged condensate drain. This guide covers quick, safe troubleshooting steps and explains when to call Sears Home Services for expert central AC repair.
When your Heil central air conditioner won’t turn on or isn’t cooling, check for power problems, a failed capacitor, or a clogged condensate drain. This guide covers quick, safe troubleshooting steps and explains when to call Sears Home Services for expert central AC repair.
When your Carrier central air conditioner won’t turn on or isn’t cooling, check for power problems, a failed capacitor, or a clogged condensate drain. This guide covers quick, safe troubleshooting steps and explains when to call Sears Home Services for expert central AC repair.
When your Comfortmaker central air conditioner won’t turn on or isn’t cooling, check for power problems, a failed capacitor, or a clogged condensate drain. This guide covers quick, safe troubleshooting steps and explains when to call Sears Home Services for expert central AC repair.
When your Ruud central air conditioner won’t turn on or isn’t cooling, check for power problems, a failed capacitor, or a clogged condensate drain. This guide covers quick, safe troubleshooting steps and explains when to call Sears Home Services for expert central AC repair.