
Discover the top 11 reasons why your refrigerator is not cooling. Get expert tips and solutions from Sears Home Services.
1. Check the Water Supply Line
2. Shut Off Refrigerator Power
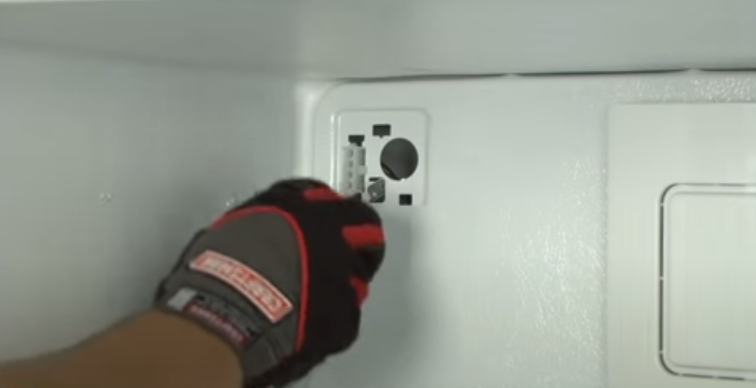
3. Prepare the Freezer Compartment
4. Prepare the Back of the Fridge
5. Install the Ice Maker Water Supply Line
6. Install the Ice Maker in the Freezer
7. Install the Ice Bucket
8. Install the Water Inlet Valve
9. Connect the Refrigerator Water Supply Line
10. Restore Electrical Power to the Fridge
Frequently Asked Questions

Some refrigerators don’t have an ice maker but have an ice maker kit available that you can install later on (when you figure out it’s nice to have one).
Many Frigidaire and Kenmore top-freezer refrigerators use the ice maker kit IM116000 to add that component to the fridge later on.
This guide provides you with a video and details of how to install that ice maker kit.
KEY TAKEAWAYS
Here’s the video that shows the steps to follow to install the ice maker kit.
You’ll need to have a water supply connection and valve available behind the refrigerator. I you don’t already have that water supply available, contact a plumber to install the water supply and cut-off valve.
If you already have a water supply available behind your refrigerator, connect the water supply line going to the refrigerator. Place a bucket under the end of the water supply line and briefly open the water supply cut-off valve to verify that you have proper water pressure and flow from the water supply line.
Safely store any food that could deteriorate while the refrigerator is off in an ice chest or second refrigerator.
Unplug the refrigerator power cord from the wall outlet.
Put on work gloves to protect your hands.
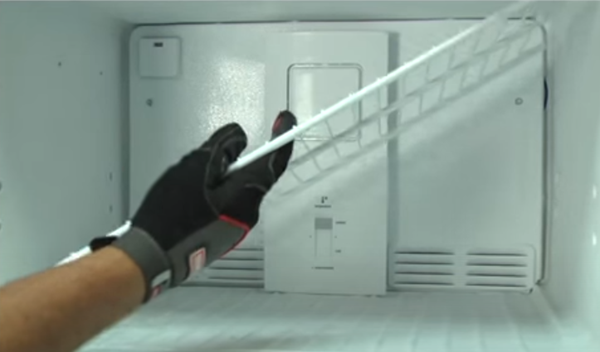

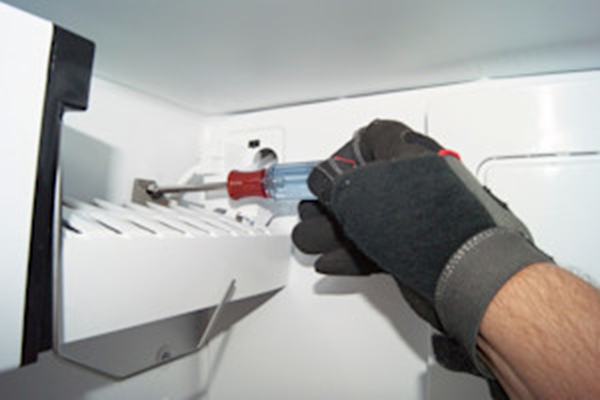
Pry out the two plastic plugs from the freezer side wall using a putty knife.
Release the locking tab using a flat-tip screwdriver.
Pull off the plastic cover over the wire harness connector and fill tube opening on the evaporator cover.
Pull the refrigerator away from the wall.
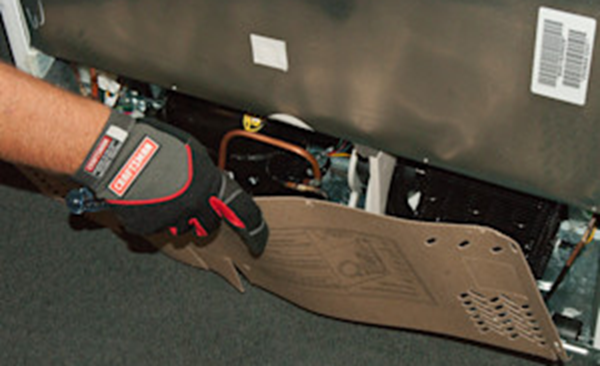
Remove the screws from the rear compartment cover and then remove the cover.
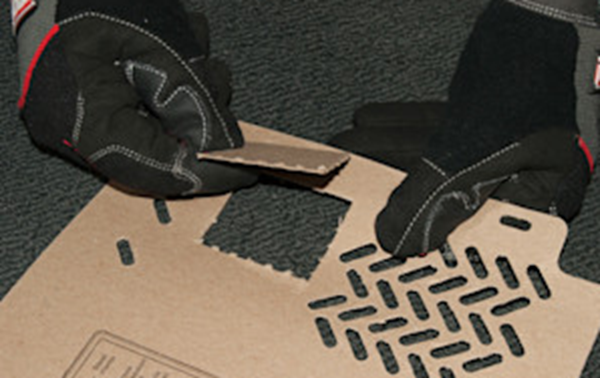
Punch out the cutout for the water supply line in the rear compartment cover.
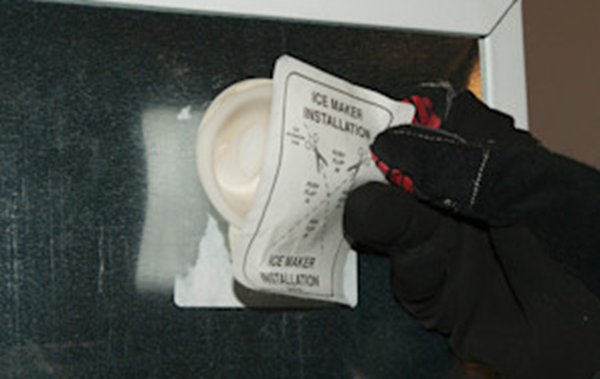
Peel off the label over the ice maker water line opening on the upper right corner of the outside back panel of the refrigerator.
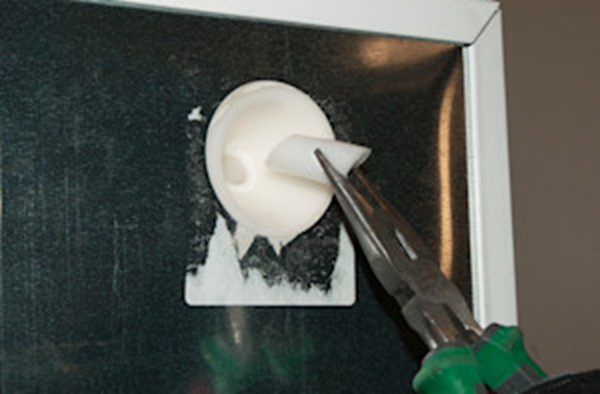
Pull the foam plug out of the water line opening.

Insert the water inlet tube into the cabinet hole and lock the water inlet tube into place.
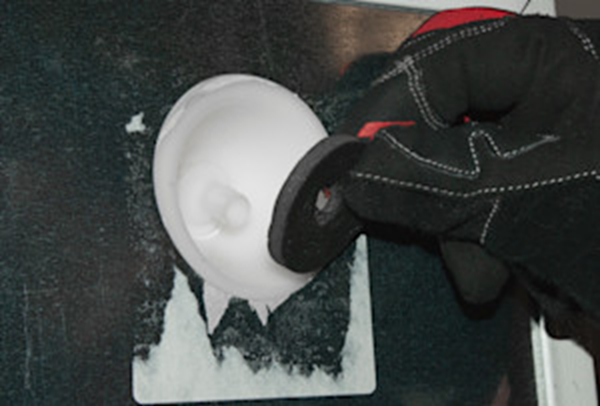
Push the black tube seal onto the water tube threads.

Thread the water supply line nylon compression nut onto the threaded end of the water inlet tube.
Tighten the compression nut to finger tight and then tighten the nut another 1/2 turn using a wrench. Do not overtighten the compression nut.

Install the adjustable leveling bracket on the bottom of the ice maker. Leave the mounting screw loose; you’ll tighten it later.

Install the mounting screws into the side freezer wall leaving enough clearance to hang the ice maker bracket on the screws.

Plug in the ice maker wire harness.
Push the plastic wire harness cover over the plug and snap the cover into place.
Hang the ice maker on the mounting screws. Make sure the fill tube sits inside the fill cup.
Tighten the mounting screws.
Adjust the leveling bracket so the gap between the freezer wall and the ice maker is equal at the top and bottom of the ice maker.
Tighten the leveling bracket mounting screw when the ice maker is level.
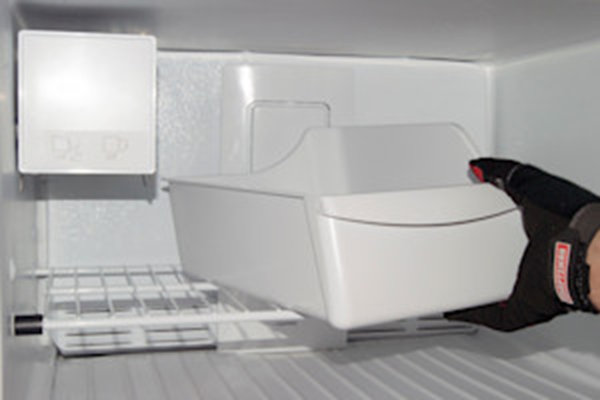
Reinstall the freezer shelf in the lower position.
Set the ice bucket on the shelf under the ice maker.
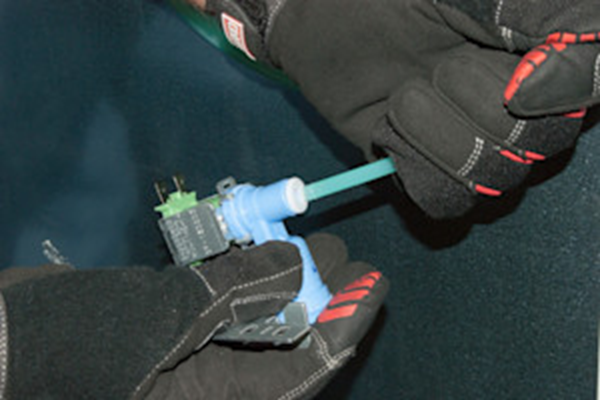
Push the ice maker water supply line firmly into the outlet fitting on the inlet water valve until the water line hits the bottom. Tug the water line to make sure it's locked into the fitting.

Connect the wire harness to the inlet water valve.
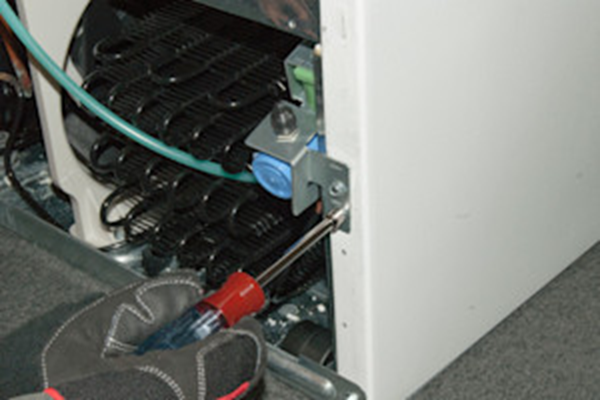
Align the valve mounting bracket with the mounting holes and attach the valve using the mounting screws.

Install the water supply line clamps.
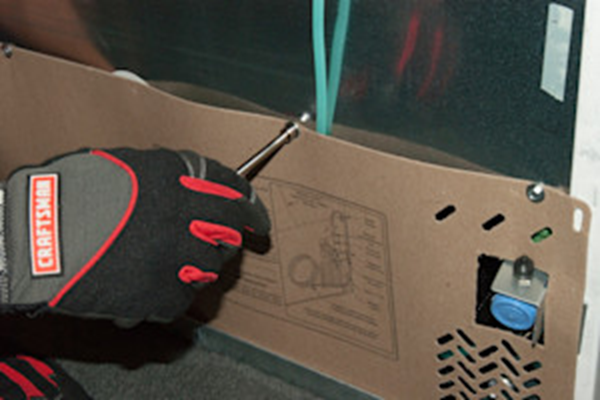
Position the rear machine compartment cover on the back of the refrigerator and reinstall the mounting screws.
Remove the black rubber cap from the water supply line fitting.

Connect the water line onto the water inlet valve fitting and firmly tighten the compression nut.
Open the water supply cut-off valve.
If the fitting leaks, tighten the compression nut and check again.
Plug in the refrigerator power cord and push the fridge back into place.
Load the food back into the refrigerator and freezer.
The ice maker should begin making ice within 24 hours.
If you have a different type of ice maker kit, follow the instructions for the kit to install the icemaker.
If you need to have a Sears Home Services technician install the ice maker for you, schedule refrigerator repair service.
Backed by years of experience, our technicians possess the skills necessary to fix your refrigerator. And because our techs our local, they can fix it for you fast.
Loading scheduler options...
Discover the top 11 reasons why your refrigerator is not cooling. Get expert tips and solutions from Sears Home Services.
Discover the most common problems with Samsung refrigerators, including cooling issues, total cooling failure, and ice maker malfunctions. Learn how to troubleshoot these issues and find reliable repair solutions with Sears Home Services.
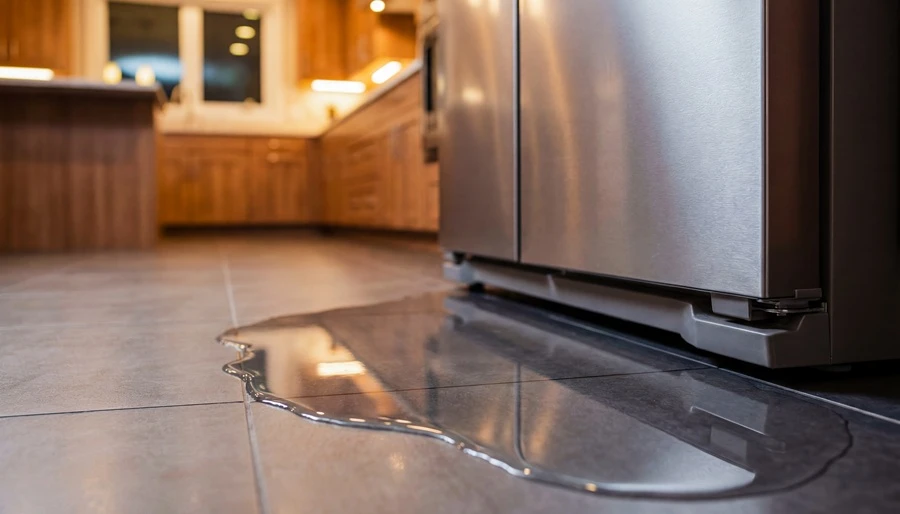
A leaking refrigerator is more than a household inconvenience—it can pose serious safety and health risks. This guide explains why refrigerators leak, the dangers involved, and the essential steps homeowners should take to protect their home, family, and appliance.

When your refrigerator starts making strange noises, distinguishing between normal sounds and potential problems becomes essential.
A compressor is a mechanical device that increases the pressure of a gas by reducing its volume, essential in various systems including refrigerators, air conditioners, and HVAC units for cooling and refrigeration processes.
A condenser is a component of HVAC and refrigeration systems, responsible for releasing absorbed heat from the refrigerant into the outside air or a water line, thus facilitating the cooling process.
A dual ice maker is a feature in some refrigerators that includes two separate ice makers: one in the fridge compartment and another in the freezer section. This setup doubles the appliance's ice-making capacity.
A French-door refrigerator features two doors that open side-by-side on the top section for the refrigerator compartment, with a bottom freezer drawer, combining style, efficiency, and easy access to both refrigerated and frozen goods.
The most common reasons your LG refrigerator icemaker reset button is not working are a faulty icemaker, a malfunctioning PCB, or a defective water valve.
The most common reasons your Samsung refrigerator is leaking water are a clogged defrost drain, cracked dispenser water tubing or a damaged evaporator.
The most common reasons your Kenmore Elite refrigerator stopped working are a locked compressor, damaged evaporator or a defective electronic control board.
The most common reasons your Maytag refrigerator stopped working are a locked compressor, damaged evaporator or a defective electronic control board.
The most common reasons your Kenmore refrigerator is noisy are a faulty ice maker assembly, defective electronic control board or a locked compressor.
The most common reasons your Kenmore refrigerator fan is not working are a defective electronic control board, damaged evaporator or a locked compressor.