 Appointment Lookup
 213-596-2538
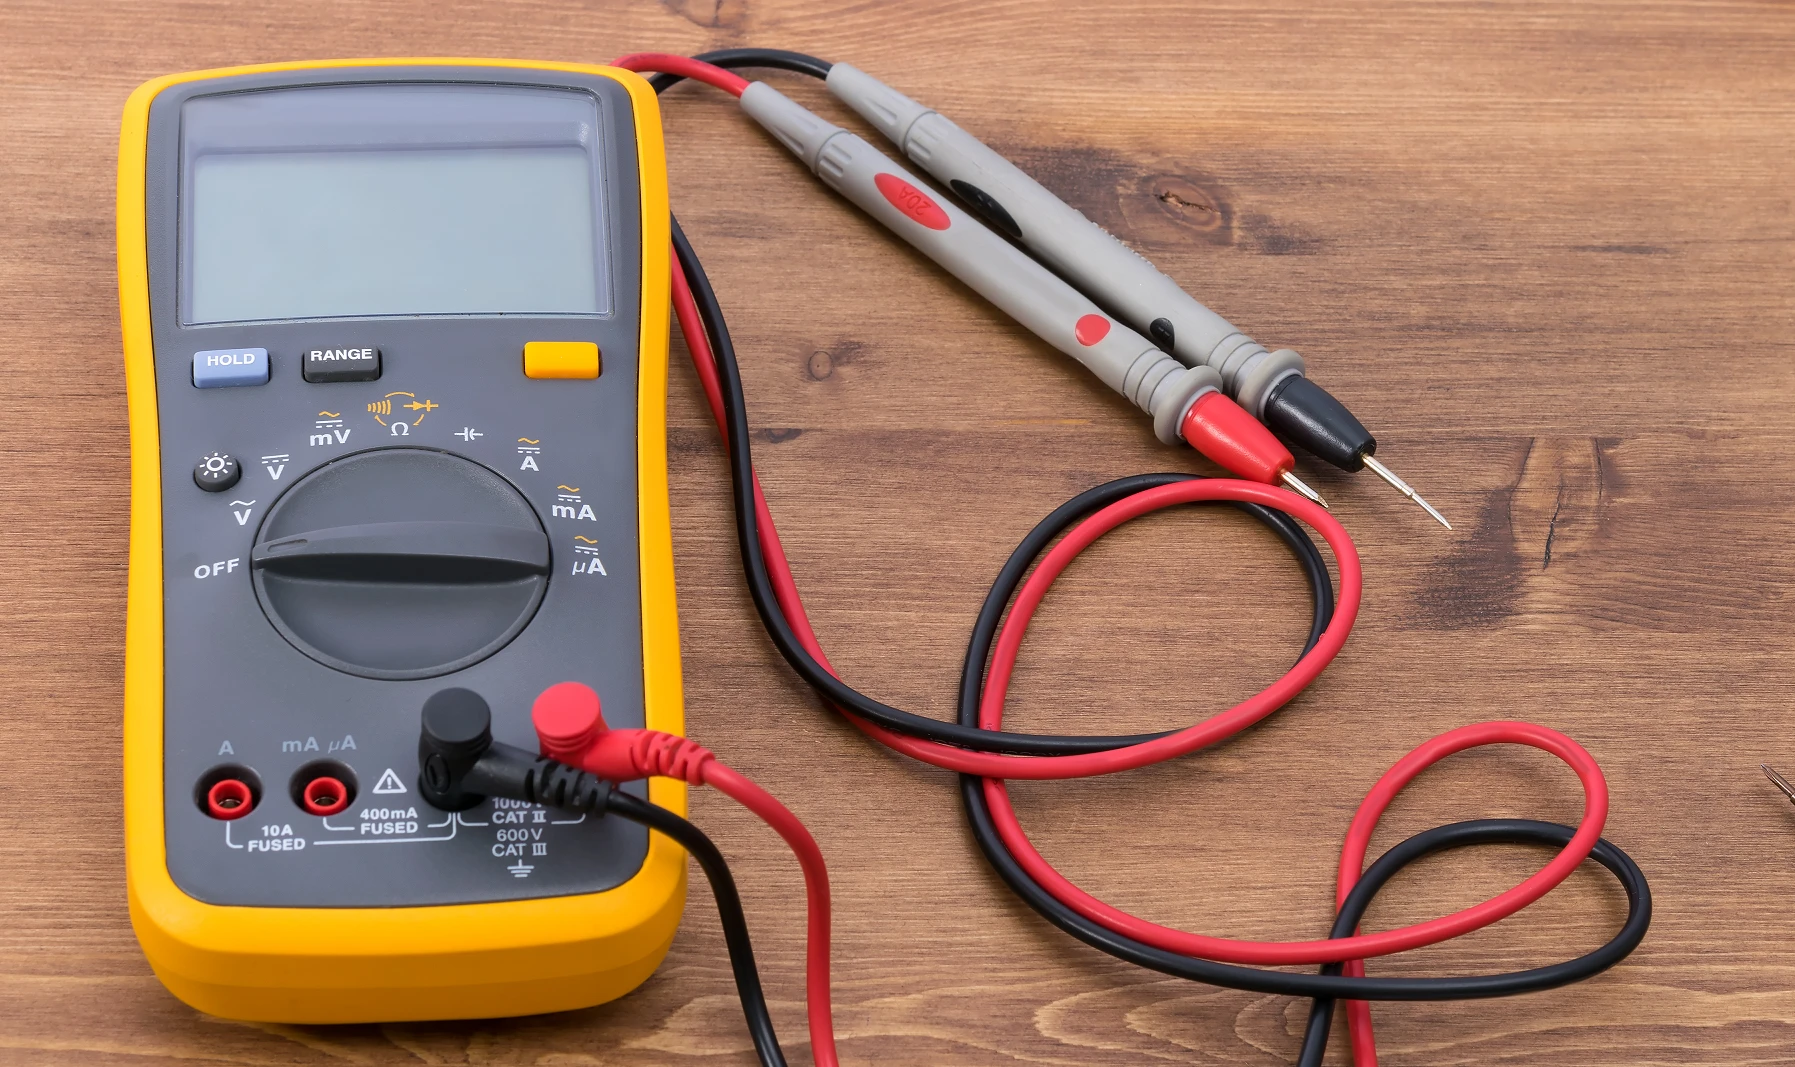
Learn how a voltage meter works and how to use it to diagnose electrical problems.
What Are the Signs of a Bad Riding Mower Starter?
What Tools Do You Need to Test a Riding Mower Starter?
How Do You Test the Battery Before Testing the Starter?
How Do You Test the Starter Solenoid on a Riding Mower?
How Do You Bench Test a Riding Mower Starter?
What Should You Check If the Starter Tests Good but the Mower Still Won't Start?
When Should You Call a Professional for Riding Mower Starter Repair?
Frequently Asked Questions
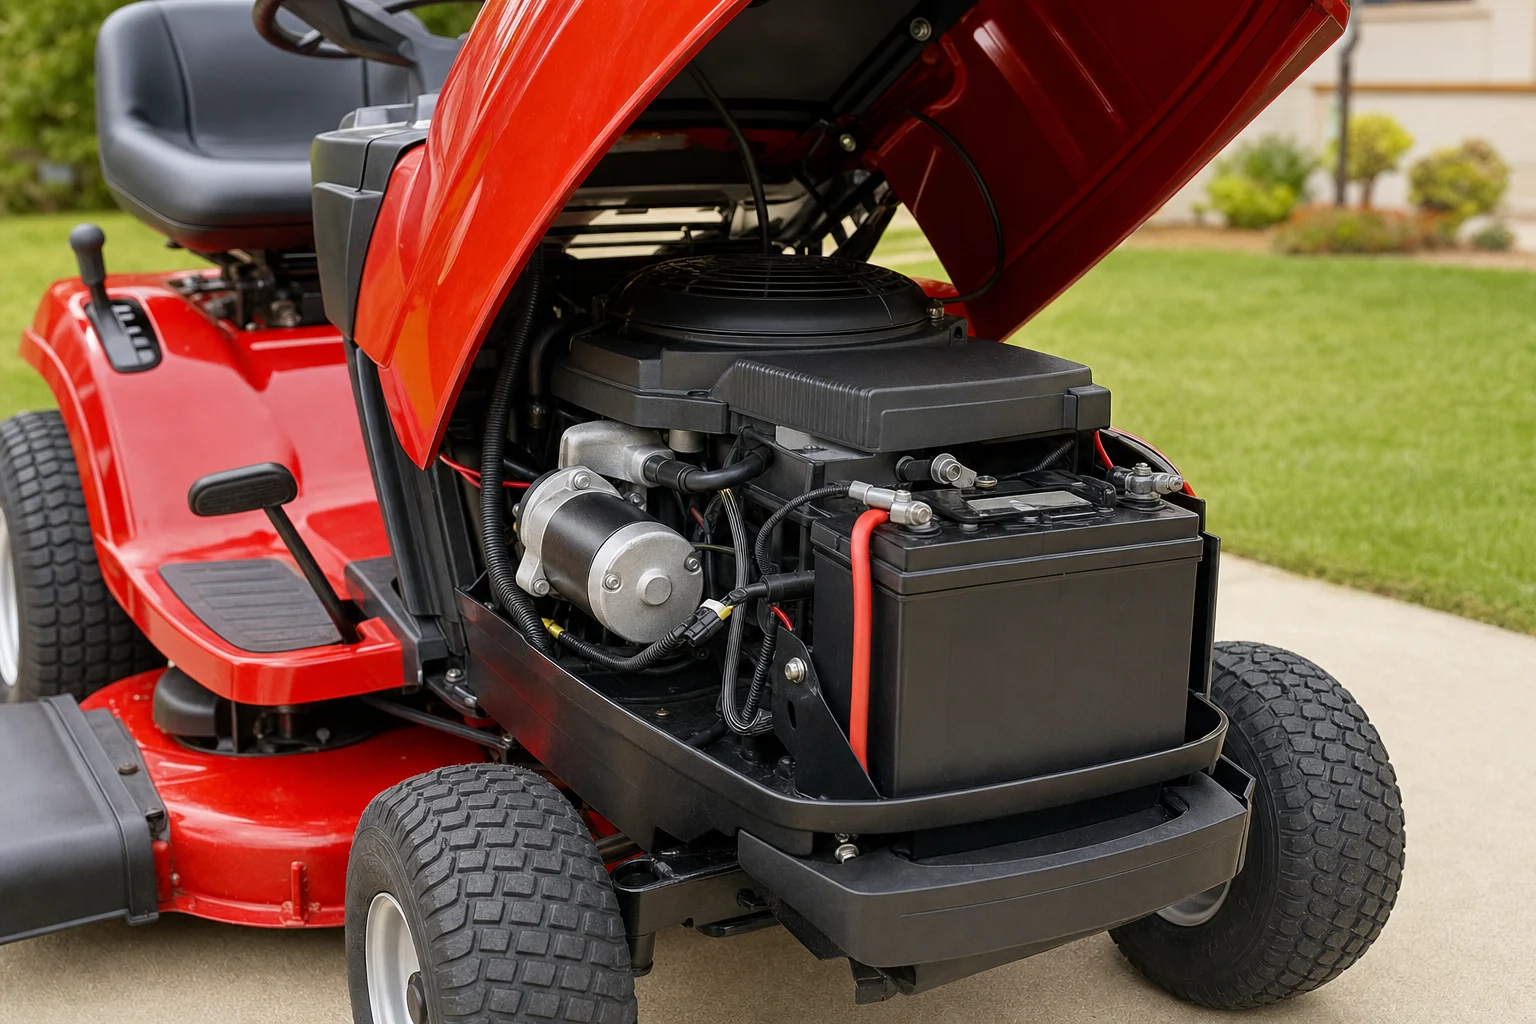
To test a riding mower starter, check battery voltage (12.6V+), test the solenoid for continuity with a multimeter, then bench test the starter by connecting it directly to a charged 12V battery — a good starter spins freely and forcefully. This guide walks you through each step in the order a technician would follow, so you don't waste time replacing a starter that isn't actually the problem. Battery, solenoid, and safety switches all cause the same symptoms, and isolating the real culprit takes about 20 minutes with basic tools.
KEY TAKEAWAYS
Before you pull tools out, confirm the symptoms actually point to the starter. A dead battery, bad solenoid, or open safety switch will all mimic starter failure — and swapping a $200 starter that wasn't the problem is a common, expensive mistake.
A single loud clunk usually means the solenoid engaged but the starter didn't spin — often a failed starter motor or a starter with worn brushes. Rapid machine-gun clicking is almost always a weak battery or loose cable connection, not the starter itself.
If the starter turns the engine over slowly, like it's dragging through mud, you're looking at either a low battery, high-resistance cable connections, or worn starter bushings. Sluggish cranking rarely means the starter is dead — it means something in the circuit isn't delivering full amperage.
Dead silence usually points upstream of the starter: the battery, ignition switch, or one of the seat/brake/PTO safety switches. Starters rarely fail in a way that produces zero clicking — the solenoid almost always makes some noise even when the motor is bad.
You'll hear a whir or grind without the engine turning over. This is a failed starter drive (Bendix) — the gear isn't extending to mesh with the flywheel ring gear. The starter itself needs replacement, or in some cases just the drive assembly.
You don't need a shop full of equipment. Four items cover every test in this guide.
Any basic auto-ranging DMM works. You need DC voltage (0-20V range) and continuity/ohms. A $25 meter from any hardware store is fine — you're not doing precision electronics work.
Standard automotive jumper cables. Thin "emergency" cables won't carry the 100+ amps a starter pulls and will get hot fast. Look for 4-gauge or heavier.
Starters can arc, sparks fly, and a shorted battery terminal can throw molten metal. Wear the glasses. Every time.
Most riding mower starters are held on by two 1/2" or 9/16" bolts. A 3/8" drive ratchet with a short extension handles nearly every brand.
This is the step most homeowners skip — and it's the reason most "bad starter" diagnoses are wrong.
Set your meter to DC volts. Touch the red probe to the positive terminal, black to negative. A healthy, fully charged mower battery reads 12.6V or higher. Under 12.4V means it needs a charge before you test anything else. Under 11.5V and the battery likely won't crank the engine regardless of starter condition.
Green or white powdery buildup on the terminals creates resistance that starves the starter of current. Disconnect the cables (negative first), clean with a wire brush and a baking-soda-and-water paste, then reconnect tightly. A loose or corroded cable is the #1 cause of "my starter died" service calls.
A battery can read 12.6V at rest and still fail under load. If you have a load tester, apply half the CCA rating for 15 seconds — voltage should stay above 9.6V. No load tester? Turn the headlights on and watch them while you crank. If they dim dramatically, the battery is weak. For a deeper walkthrough, see our guide on testing a lawn mower battery.
The solenoid is the small cylindrical or square relay usually mounted near the battery or on the starter itself. It has two large terminals (battery in, starter out) and one or two small trigger terminals.
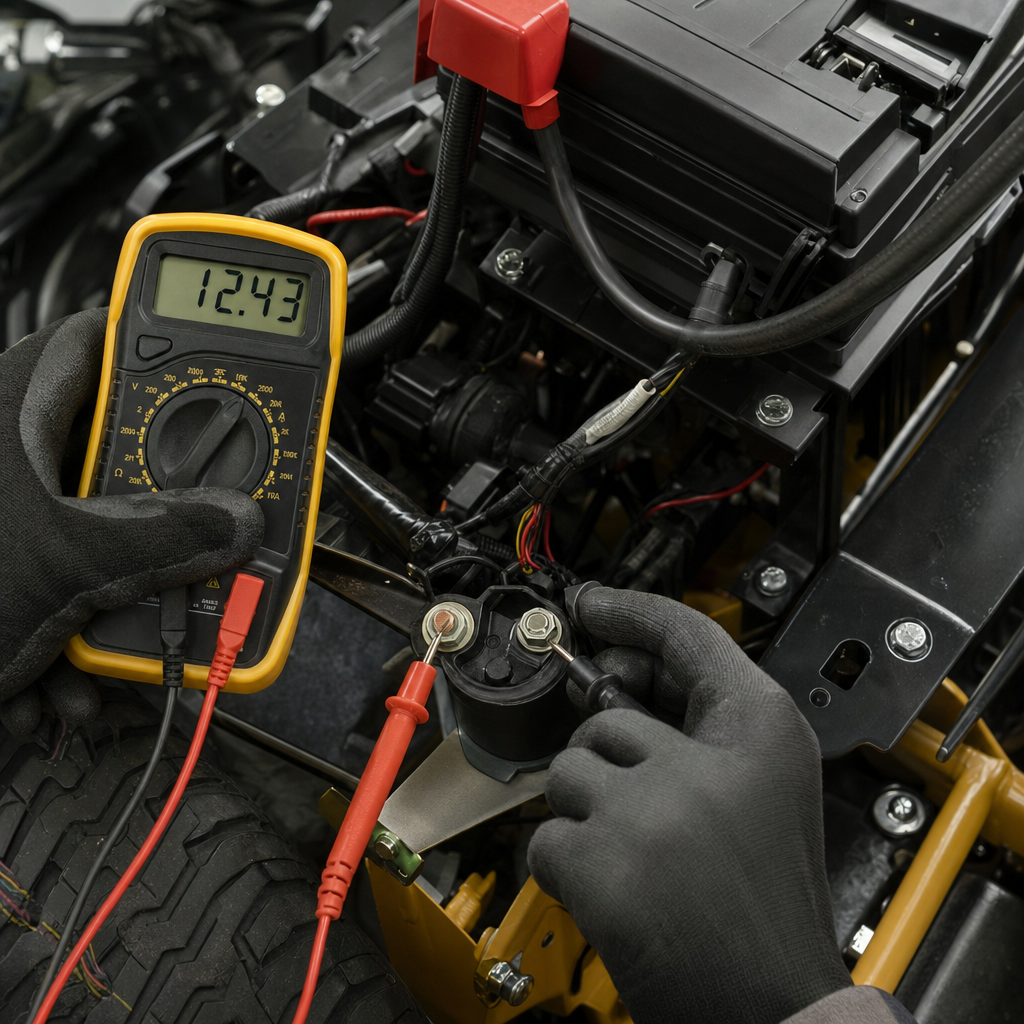
Follow the positive cable from the battery. It runs to the solenoid's large input terminal. Another heavy cable exits the other large terminal and runs to the starter. The small terminal(s) get 12V from the ignition switch when you turn the key to "start."
Reconnect the battery. Set the meter to DC volts. Put the red probe on the solenoid's small trigger terminal, black to a good ground. Turn the key to start. You should see 12V. If you don't, the problem is upstream — ignition switch, safety switch, or wiring — not the starter or solenoid.
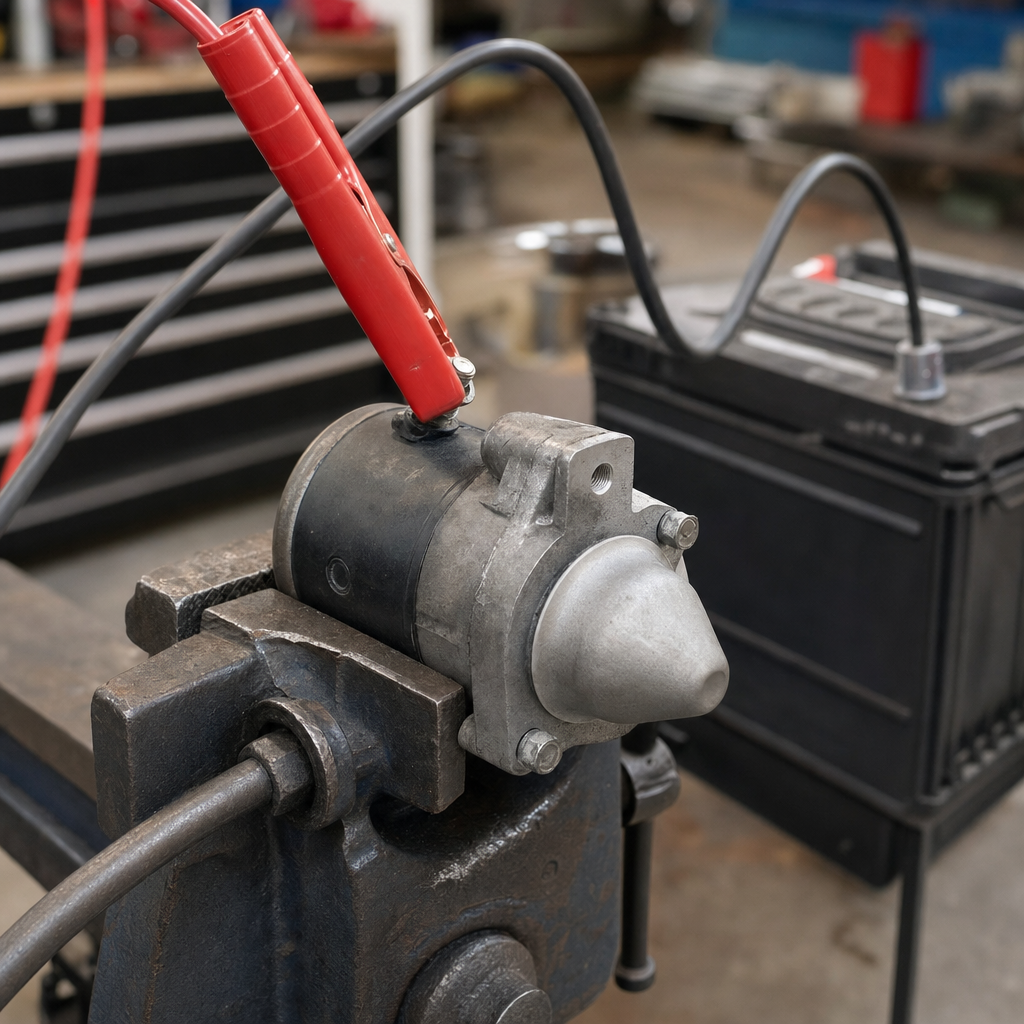
Bench testing is the definitive test. It removes the mower's wiring, switches, and battery cables from the equation and gives you a clear pass/fail.
⚠️ Warning: Disconnect the negative battery cable before you touch the starter. The positive cable at the starter is always hot and will weld a wrench to the frame in an instant.
Remove the two mounting bolts (usually 1/2" or 9/16") and disconnect the positive cable from the starter stud. The starter should slide out — some brands require removing a heat shield first.
Clamp the starter in a bench vise by its mounting flange, not the housing. The motor will torque hard when it spins and will jump off the bench if it isn't secured. Point the drive gear away from you and anything you don't want it to hit.
A good starter spins fast, forcefully, and the drive gear extends outward with authority. A bad starter will do one of three things: nothing, spin weakly, or extend the gear without spinning. Any of those means replacement. For a full brand-specific walkthrough, our riding mower repair resources cover common failure patterns by manufacturer.
If the starter bench-tests fine, the problem is in the safety interlock circuit or the ignition system.
Most riding mowers won't crank unless the operator is in the seat. A failed switch or a disconnected connector under the seat is the #1 cause of no-crank complaints. Bridge the connector temporarily to test — if the mower cranks, replace the switch.
The brake pedal must be depressed and the PTO (blade engagement lever) must be OFF. Both have switches that can fail or come loose. Check continuity on each while operating the pedal or lever.
A worn ignition switch may feel fine but not send 12V to the solenoid trigger. Backprobe the trigger wire while turning the key — no voltage means the switch, a fuse, or the harness has failed. Regular seasonal service under a riding lawn mower maintenance plan catches these before they strand you mid-mow.
Some jobs are worth doing yourself. Others cost more in wasted parts than a service call.
| Situation | DIY-friendly? | Call a pro? |
|---|---|---|
| Bench test confirms bad starter, easy access | ✅ Yes | Optional |
| Multiple failed tests, unclear diagnosis | ❌ No | ✅ Yes |
| Starter buried under deck or hydro components | ❌ No | ✅ Yes |
| Repeated starter failures (underlying cause) | ❌ No | ✅ Yes |
| Mower under warranty | ❌ No | ✅ Yes |
Opening the electrical system on a mower still under manufacturer warranty can void coverage. A Sears Protect home warranty covers most brands, any age, and can save you the out-of-pocket hit on a starter replacement plus any underlying charging-system issue that caused it.
SHS dispatches 1,500+ manufacturer-trained technicians with an average of 10+ years of experience, available 6 days a week. Your technician provides an exact quote — parts and labor — that doesn't change once provided. You can book professional riding mower repair online or call (213) 596-2538 to check for same-day availability.
With years of expertise, our technicians can diagnose and repair your riding mower no matter the problem, so you can get back to mowing quickly.
Loading scheduler options...
Learn how a voltage meter works and how to use it to diagnose electrical problems.

Master summer lawn care with these tips on mowing, watering, planting, and pest control to keep your yard looking its best.

Navigating through common riding mower problems can be daunting, but understanding whether it's a DIY fix or a job for a repairman is crucial.

Find out if the ignition switch on your riding mower is bad. Learn how to diagnose ignition switch problems on your lawn tractor at Sears Home Services.
The drum is the core part of the washer that holds your laundry and enables the cleaning process through rotation, agitation, and rinsing.
The 608 Certification, mandated by the Environmental Protection Agency (EPA), is required for HVAC technicians to legally handle refrigerants. It ensures technicians understand refrigerant types, environmental impact, and proper handling techniques.
A compressor is a mechanical device that increases the pressure of a gas by reducing its volume, essential in various systems including refrigerators, air conditioners, and HVAC units for cooling and refrigeration processes.
A condenser is a component of HVAC and refrigeration systems, responsible for releasing absorbed heat from the refrigerant into the outside air or a water line, thus facilitating the cooling process.
When your Payne central air conditioner won’t turn on or isn’t cooling, check for power problems, a failed capacitor, or a clogged condensate drain. This guide covers quick, safe troubleshooting steps and explains when to call Sears Home Services for expert central AC repair.
When your ICP central air conditioner won’t turn on or isn’t cooling, check for power problems, a failed capacitor, or a clogged condensate drain. This guide covers quick, safe troubleshooting steps and explains when to call Sears Home Services for expert central AC repair.
When your Heil central air conditioner won’t turn on or isn’t cooling, check for power problems, a failed capacitor, or a clogged condensate drain. This guide covers quick, safe troubleshooting steps and explains when to call Sears Home Services for expert central AC repair.
When your Carrier central air conditioner won’t turn on or isn’t cooling, check for power problems, a failed capacitor, or a clogged condensate drain. This guide covers quick, safe troubleshooting steps and explains when to call Sears Home Services for expert central AC repair.
When your Comfortmaker central air conditioner won’t turn on or isn’t cooling, check for power problems, a failed capacitor, or a clogged condensate drain. This guide covers quick, safe troubleshooting steps and explains when to call Sears Home Services for expert central AC repair.
When your Ruud central air conditioner won’t turn on or isn’t cooling, check for power problems, a failed capacitor, or a clogged condensate drain. This guide covers quick, safe troubleshooting steps and explains when to call Sears Home Services for expert central AC repair.